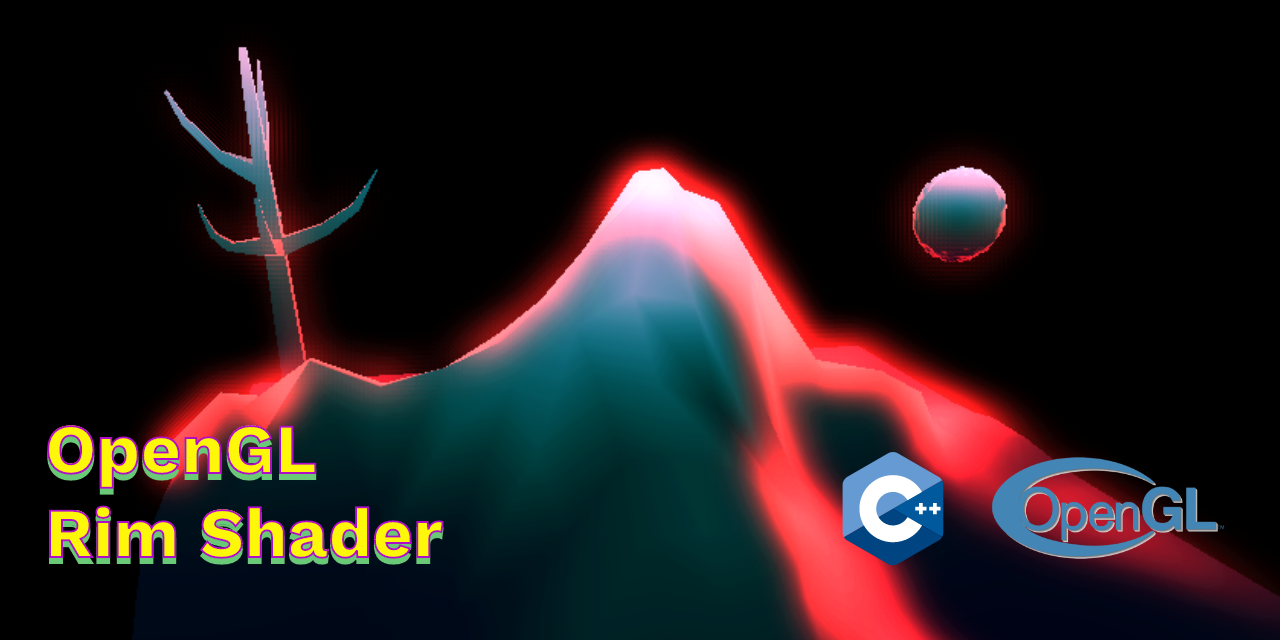
OpenGL Rim Shader
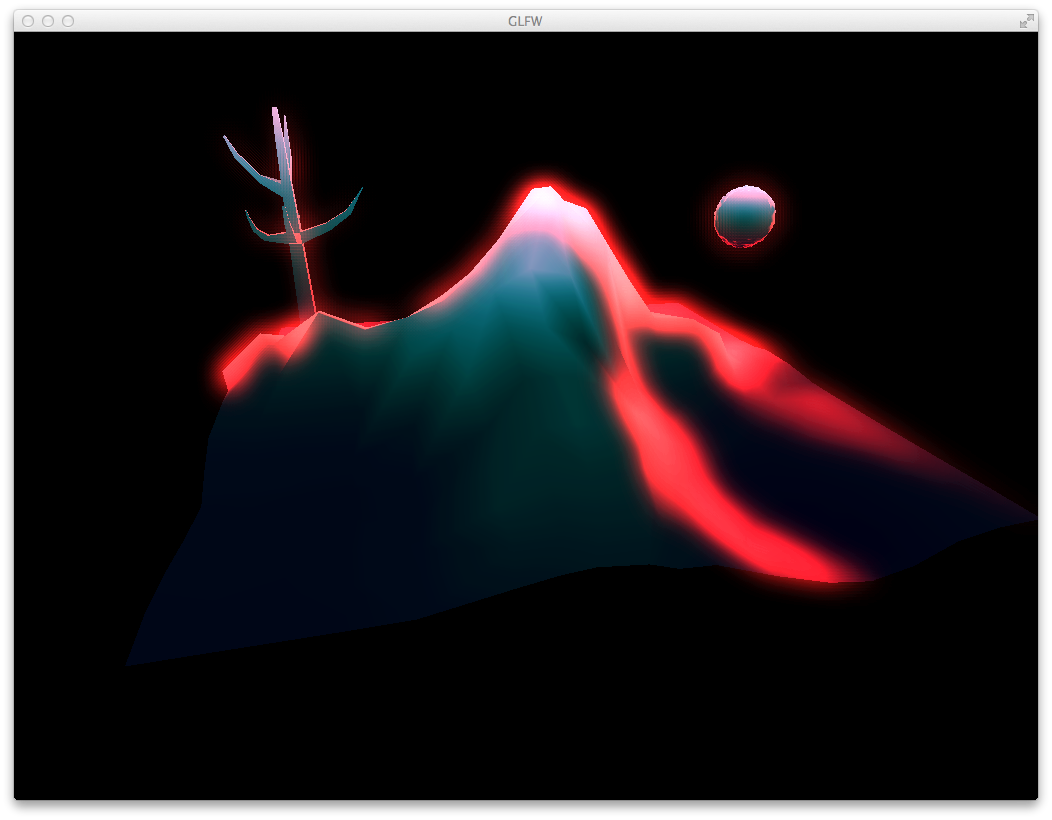
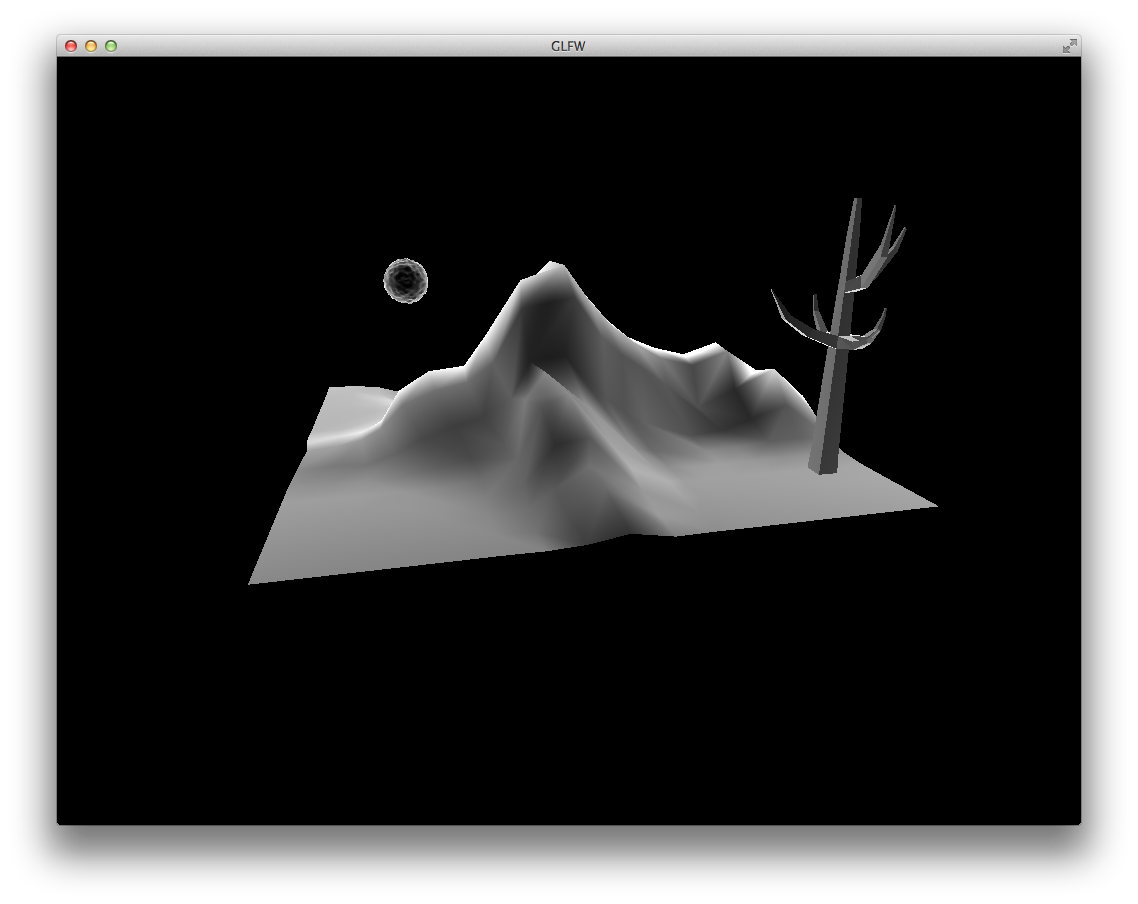
Using a rim light gives your shading a nice volumentric effect which can greatly enhance the contrast with the background. A rim shader is very simple but has a great result. In this screenshot I applied a rim light effect which I blurred a bit to make it even more effective.
To create your rim shader, first a bit of background about the vectors that we need to perform the calculations. The contribution of the rim shading should be bigger around the peaks. Around the peaks, some normals are pointing towards the eye/cam position and some are pointing away. In the image below you can see that the angle between the normal and the eye vector (v) is big.
Getting the eye vector in your shader is easy. You convert your vertex position to view space by multiplying it with your view matrix, then you normalize and negate it.
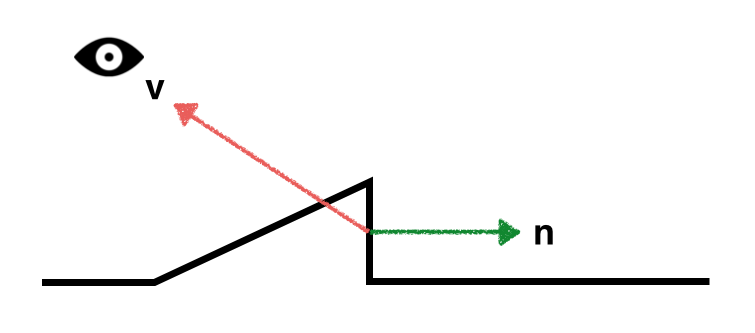
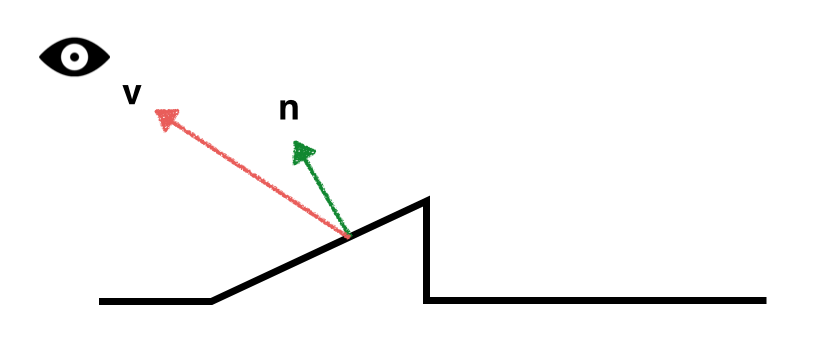
Below you can see how small the angle between the eye and the normal of the other face is. It's clearly a lot smaller. This means that the rim contribution for this second drawing should be less then the first one.
In short you can say, the bigger the angle between the eye vector (v) and the
normal (n), the bigger the contribution of the rim shading. To calculate this,
we use the dot product which gives us the cosine between two vectors. As you
might know, the cosine between two vectors that are perpendicular is 0. You
can read up a bit on the dot product here. Because we want
the contribution of the rim shading to be bigger when the angles are bigger,
we will use 1.0 - dot(normal, eye_vector). The 1.0 - part is necessary to
make sure that the value will be bigger when the angle is bigger. E.g. when
the vectors are perpendicular the contribution will be 1.0 (as the dot product
is zero).
In the GLSL example below we're implementing this rim shader, but we're skipping one important part to show you how using the calculated rim-contribution value looks like:
vec3 n = normalize(mat3(u_vm) * v_norm);      // convert normal to view space, u_vm (view matrix), is a rigid body transform.
vec3 p = vec3(u_vm * v_pos);                   // position in view space
vec3 v = normalize(-p);                       // vector towards eye
float vdn = 1.0 - max(dot(v, n), 0.0);        // the rim-shading contribution

fragcolor.a = 1.0;
fragcolor.rgb = vec3(vdn);
Using the rim shading contribution as color (the vdn) we get the
following result.
As you can clearly see, there is much more contribution than just around the
edges/peaks. What we want to do, is to remove some of the contribution that are
below a certain value. We could use an if statement like if(vdn < 0.5) { // skip }
but this will result in hard edges between the rim contribution. When we
use smoothstep we can still limit the use of certain values but also make sure
that the values have a nice smooth cutoff. Therefore we add a smoothstep like:
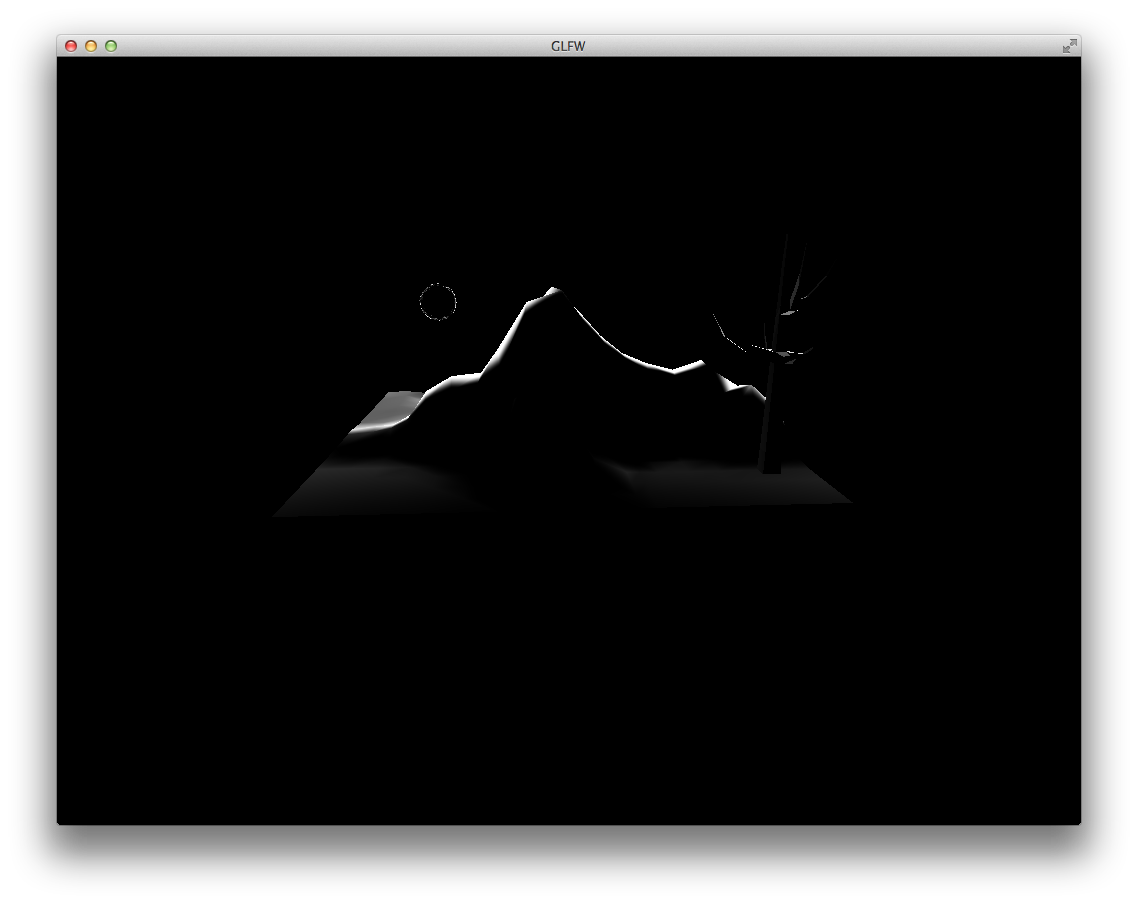
fragcolor.rgb = vec3(smoothstep(0.8, 1.0, vdn));
This results in the image below:
The complete shader looks like:
#version 330

uniform mat4 u_pm;
uniform mat4 u_vm;

layout( location = 0 ) out vec4 fragcolor;

in vec3 v_norm;
in vec4 v_pos;

void main() {

  vec3 n = normalize(mat3(u_vm) * v_norm);      // convert normal to view space, u_vm (view matrix), is a rigid body transform.
  vec3 p = vec3(u_vm * v_pos);                   // position in view space
  vec3 v = normalize(-p);                       // eye vector
  float vdn = 1.0 - max(dot(v, n), 0.0);        // the rim contribution

  fragcolor.a = 1.0;
  fragcolor.rgb = vec3(smoothstep(0.6, 1.0, vdn));
}
 NAT Types
 Building Cabinets
 Compiling GStreamer from source on Windows
 Debugging CMake Issues
 Dual Boot Arch Linux and Windows 10
 Mindset Updated Edition, Carol S. Dweck (Book Notes)
 How to setup a self-hosted Unifi NVR with Arch Linux
 Blender 2.8 How to use Transparent Textures
 Compiling FFmpeg with X264 on Windows 10 using MSVC
 Blender 2.8 OpenGL Buffer Exporter
 Blender 2.8 Baking lightmaps
 Blender 2.8 Tips and Tricks
 Setting up a Bluetooth Headset on Arch Linux
 Compiling x264 on Windows with MSVC
 C/C++ Snippets
 Reading Chunks from a Buffer
 Handy Bash Commands
 Building a zero copy parser
 Kalman Filter
 Saving pixel data using libpng
 Compile Apache, PHP and MySQL on Mac 10.10
 Fast Pixel Transfers with Pixel Buffer Objects
 High Resolution Timer function in C/C++
 Rendering text with Pango, Cairo and Freetype
 Fast OpenGL blur shader
 Spherical Environment Mapping with OpenGL
 Using OpenSSL with memory BIOs
 Attributeless Vertex Shader with OpenGL
 Circular Image Selector
 Decoding H264 and YUV420P playback
 Fast Fourier Transform
 OpenGL Rim Shader
 Rendering The Depth Buffer
 Delaunay Triangulation
 RapidXML
 Git Snippets
 Basic Shading With OpenGL
 Open Source Libraries For Creative Coding
 Bouncing particle effect
 OpenGL Instanced Rendering
 Mapping a texture on a disc
 Download HTML page using CURL
 Height Field Simulation on GPU
 OpenCV
 Some notes on OpenGL
 Math
Math
 Gists to remember
 Reverse SSH
 Working Set
 Consumer + Producer model with libuv
 Parsing binary data
 C++ file operation snippets
 Importance of blur with image gradients
 Real-time oil painting with openGL
 x264 encoder
 Generative helix with openGL
 Mini test with vector field
 Protractor gesture recognizer
 Hair simulation
 Some glitch screenshots
 Working on video installation
 Generative meshes
 Converting video/audio using avconv
 Auto start terminal app on mac
 Export blender object to simple file format