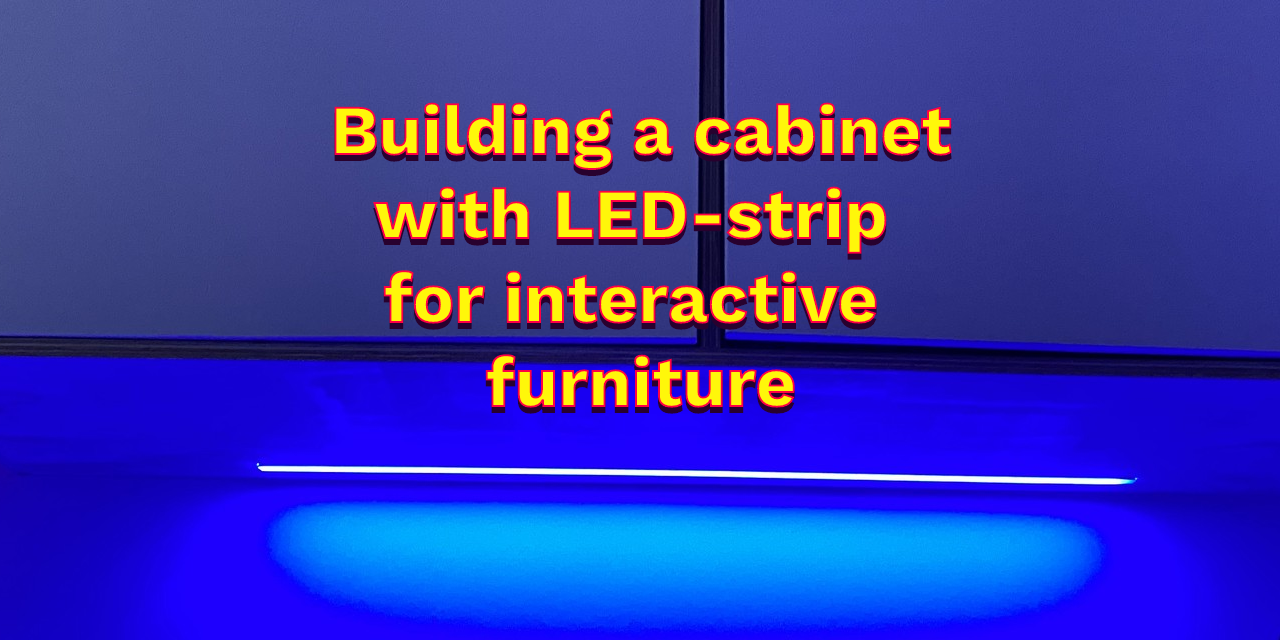
Building Cabinets
Besides my love for programming, I've always wanted to do more with woodworking. It's the process of creating something, making it better, and learning along the way which I enjoy the most. Creating a furniture piece that will be used daily and last for several decades is such a strong thing that resonates a lot with me. Also, I've always had a great interest in adding ambient features to otherwise static furniture which add meaning and improve your day-to-day life a tiny bit.
As a software developer for interactive installations, I've been involved with the construction of interactive furniture quite a bit. Though, because of COVID, there wasn't much need for public interactive installations and after working on several low-level video streaming projects I had to take action and work on my interactive furniture piece.
In this post I'll dive into the steps I took to design and build a cabinet that contains a LED strip that can be triggered via external sensors or via TCP/UDP. Before I jump into the design process and construction of this cabinet, I'll share some of the interactive projects I've worked on before.
If you're interested in something like this please get in touch via diederick[at]roxlu.com (Leiden, Netherlands) and I'll get back to you asap.
Interactive Installations
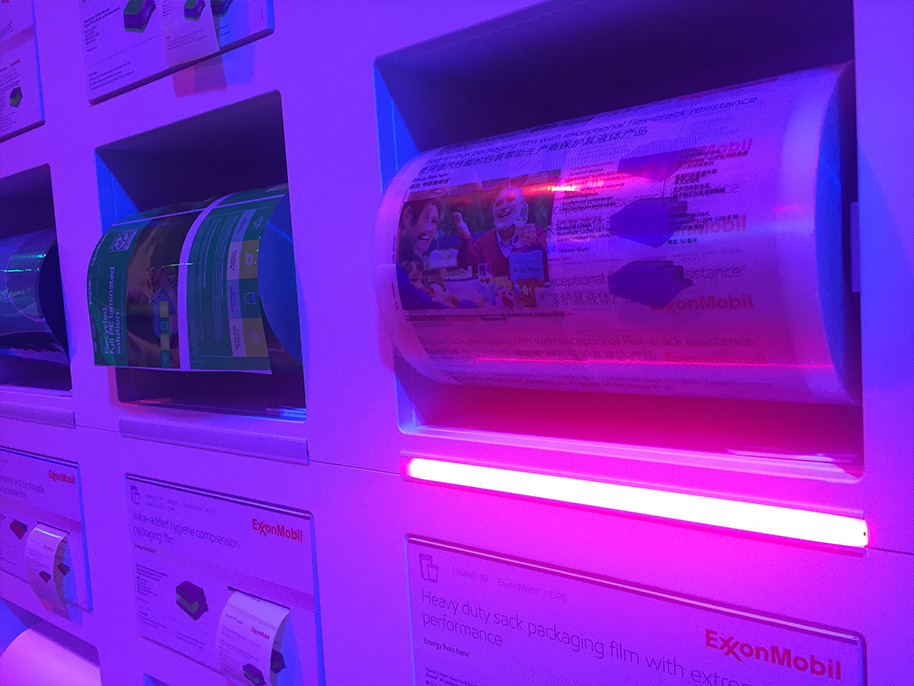
Interactive Product Wall
I've created this interactive wall that can be used to browse through different products for the K2019 conference in Germany. Visitors of the K2019 conference browse through product information on a touch screen and the relevant product lights up.
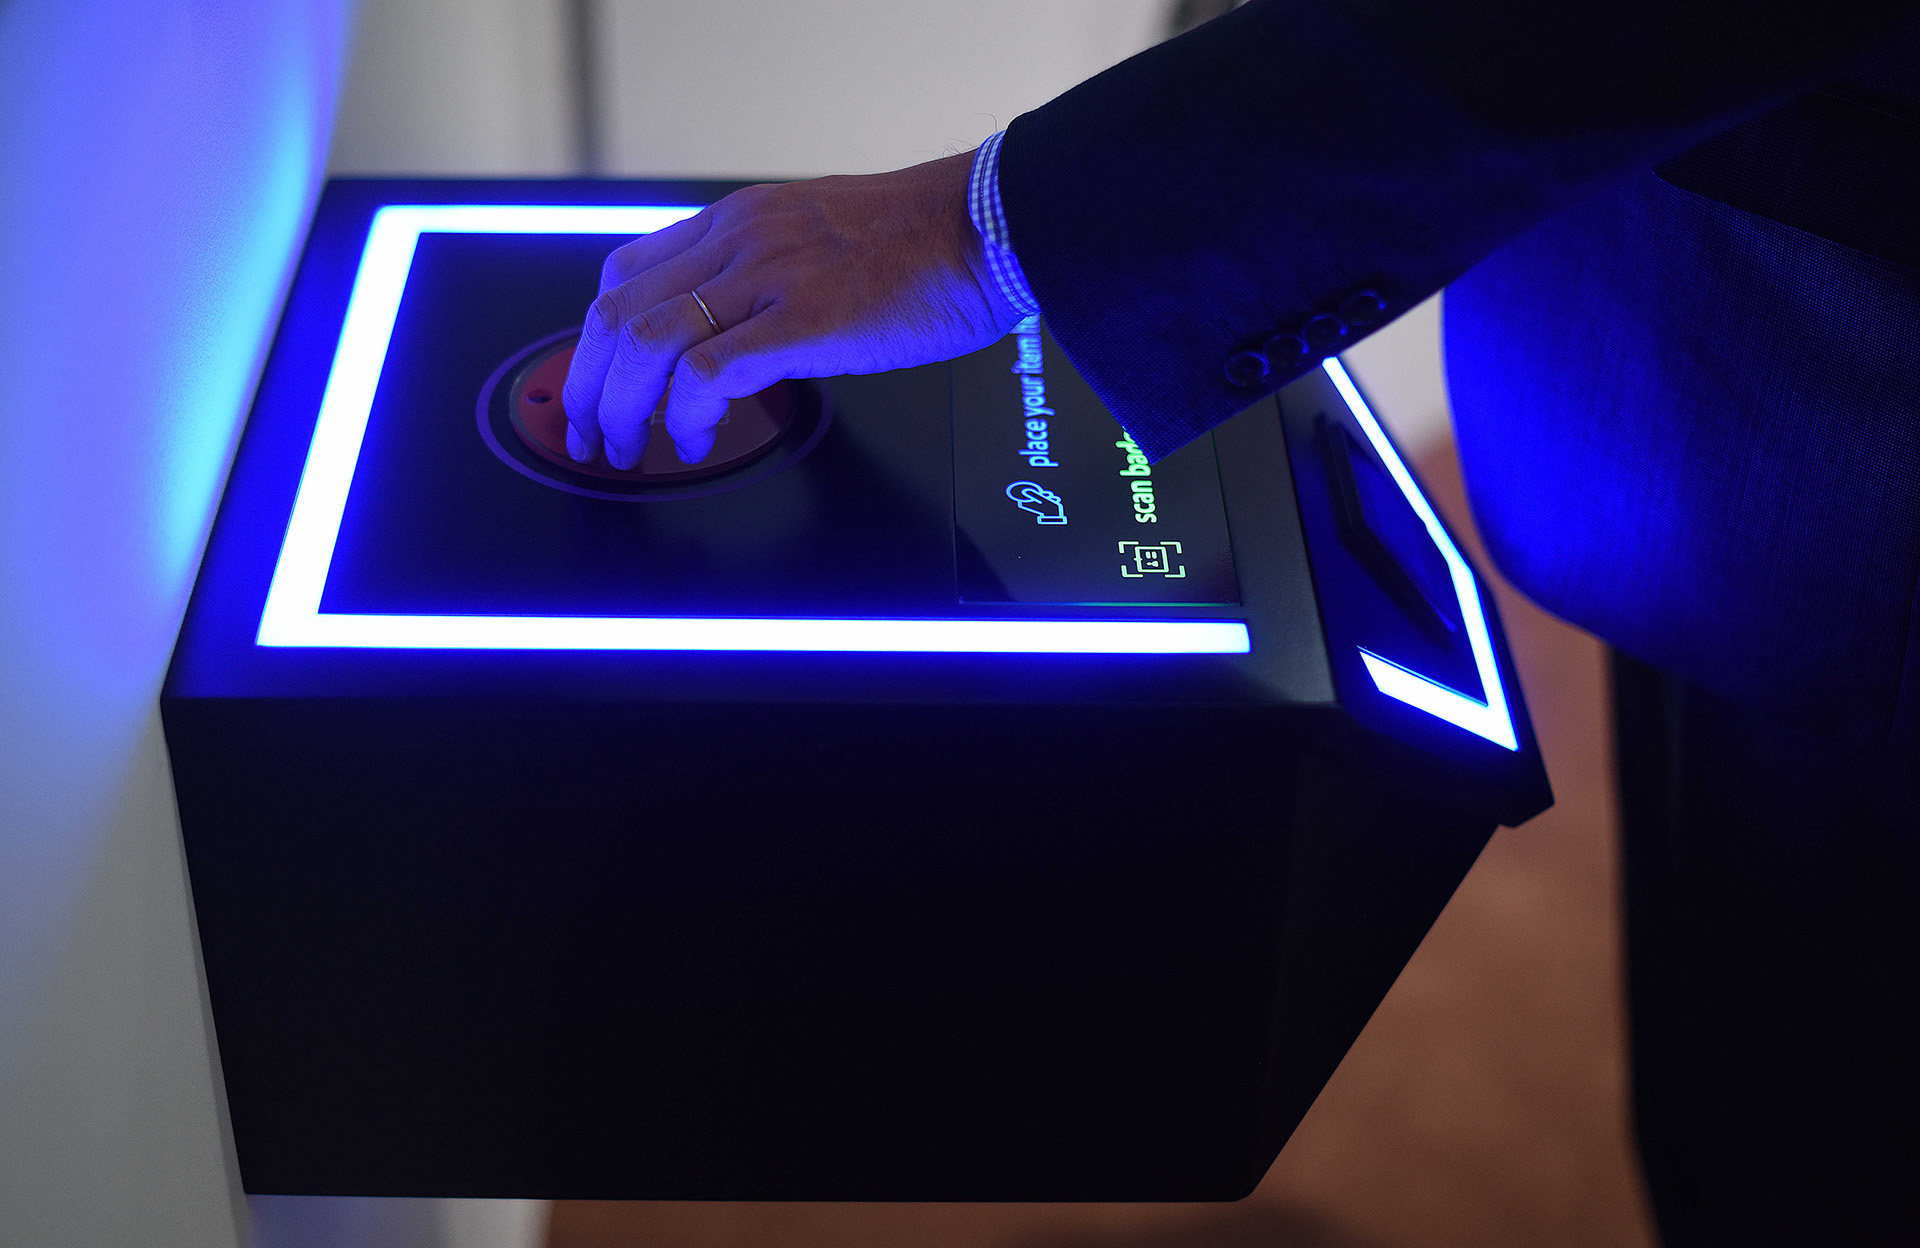
RFID triggered product messaging
Above this little cabinet, a screen displays information about products that can be selected by placing special objects onto this piece. When the visitor places an object onto this socket the lights turn on and a message is shown on a display.
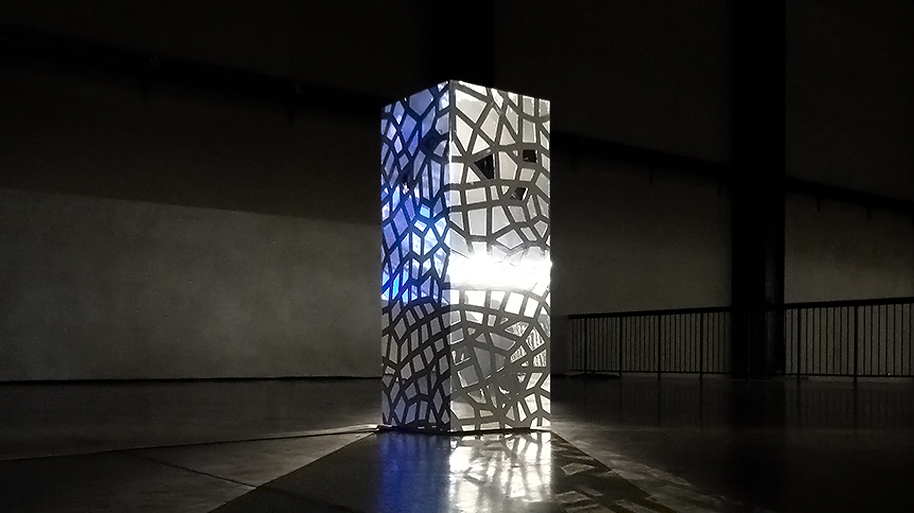
The Hello Cube @ TATE
This is the Hello Cube: a digital installation that welds social media, interactive software and physical objects into one digital experience. The piece integrates online and physical interaction by creating the world's first tweeting object.
Designing the cabinet
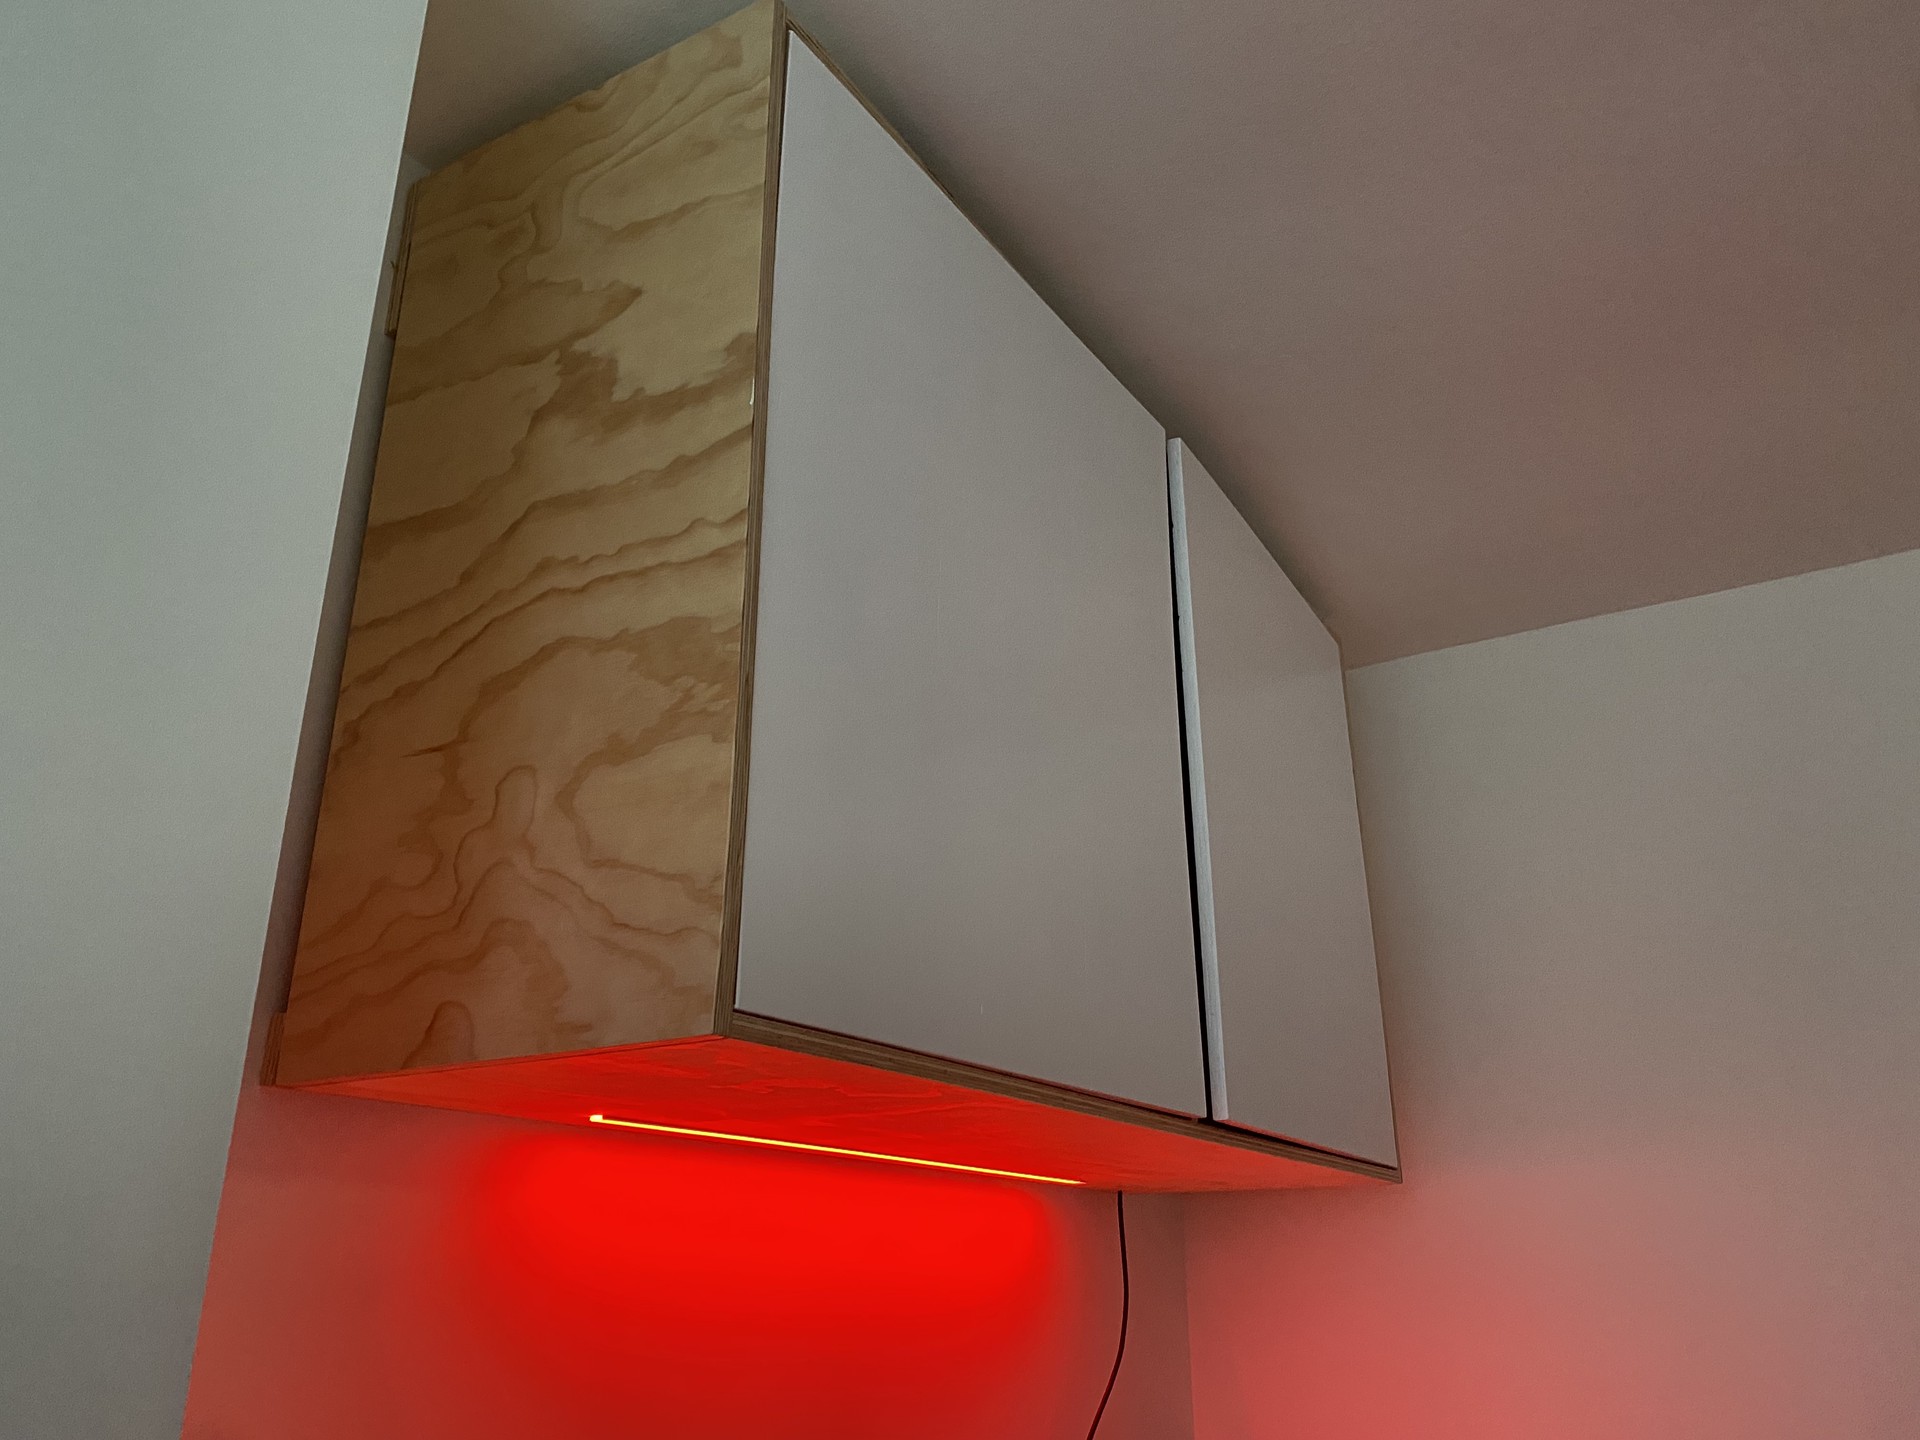
In this section I'll describe the process I took to design this cabinet. I wanted to create a cabinet for my office following Scandinavian style. But I didn't want to create just a "lifeless" cabinet. I've always thought that furniture should be more than static pieces in a room. They should integrate ambient technology that helps you in some way. This is one of the reasons why I've built this cabinet as it allows me to experiment. For this cabinet that meant that I wanted to be notified when someone rings my door by changing the colors of the built-in LED strip. Having a visual notification instead of an audible one when someone rings the door might help to prevent my dogs from barking.
I started designing a patch in Rhino and Grasshopper. This allows me easily change some parameters like number of shelves or dividers and automatically generate a design that you can use to create a cut-list.
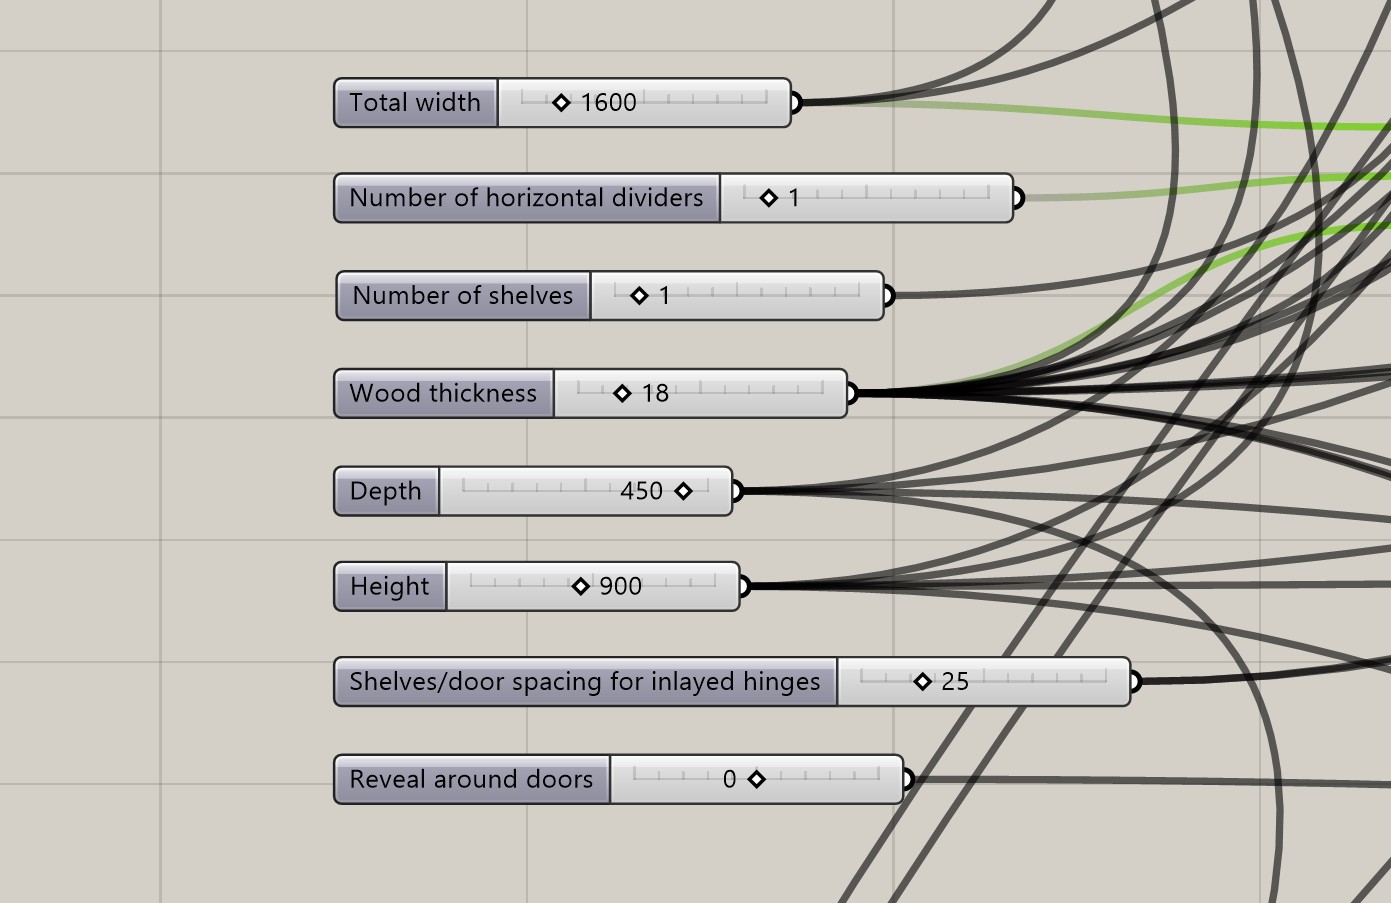
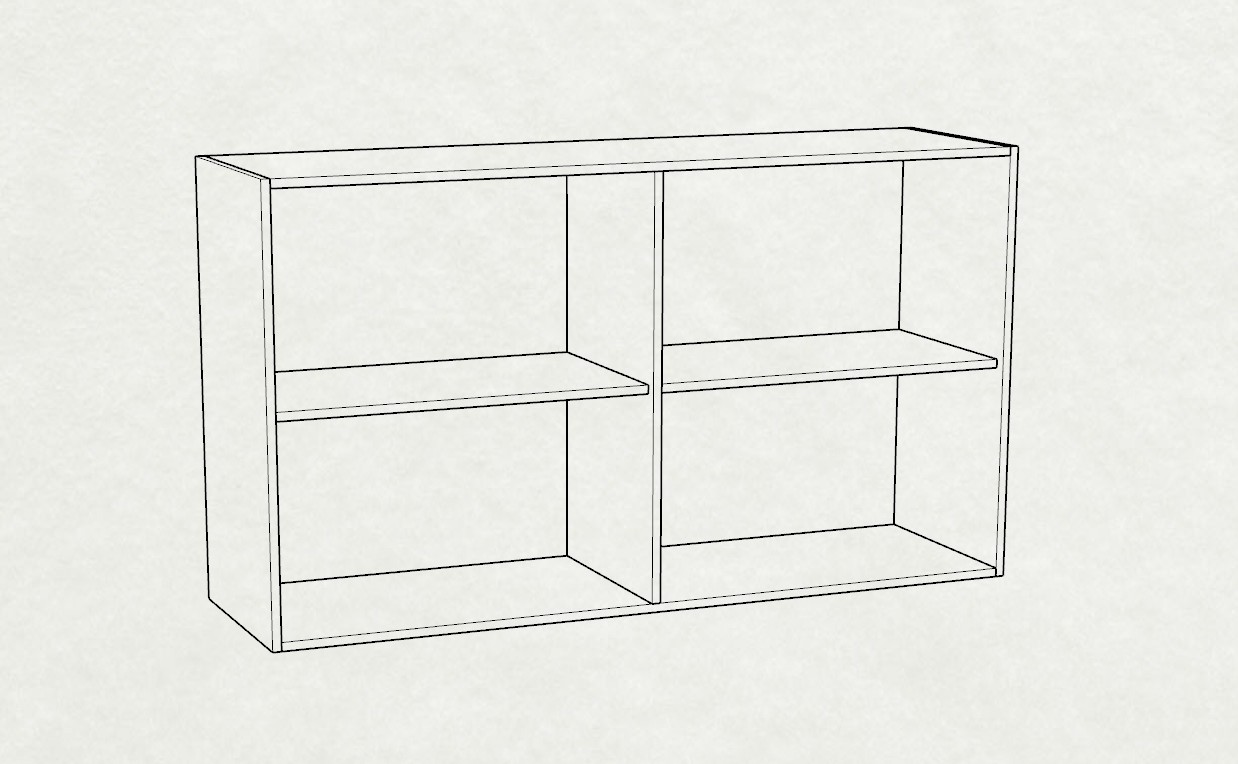
Grasshopper is an amazing tool that makes it possible to generate a 3D model based on parameters in real-time. By changing the width, height, number of shelves, etc. the 3D model is regenerated automatically.
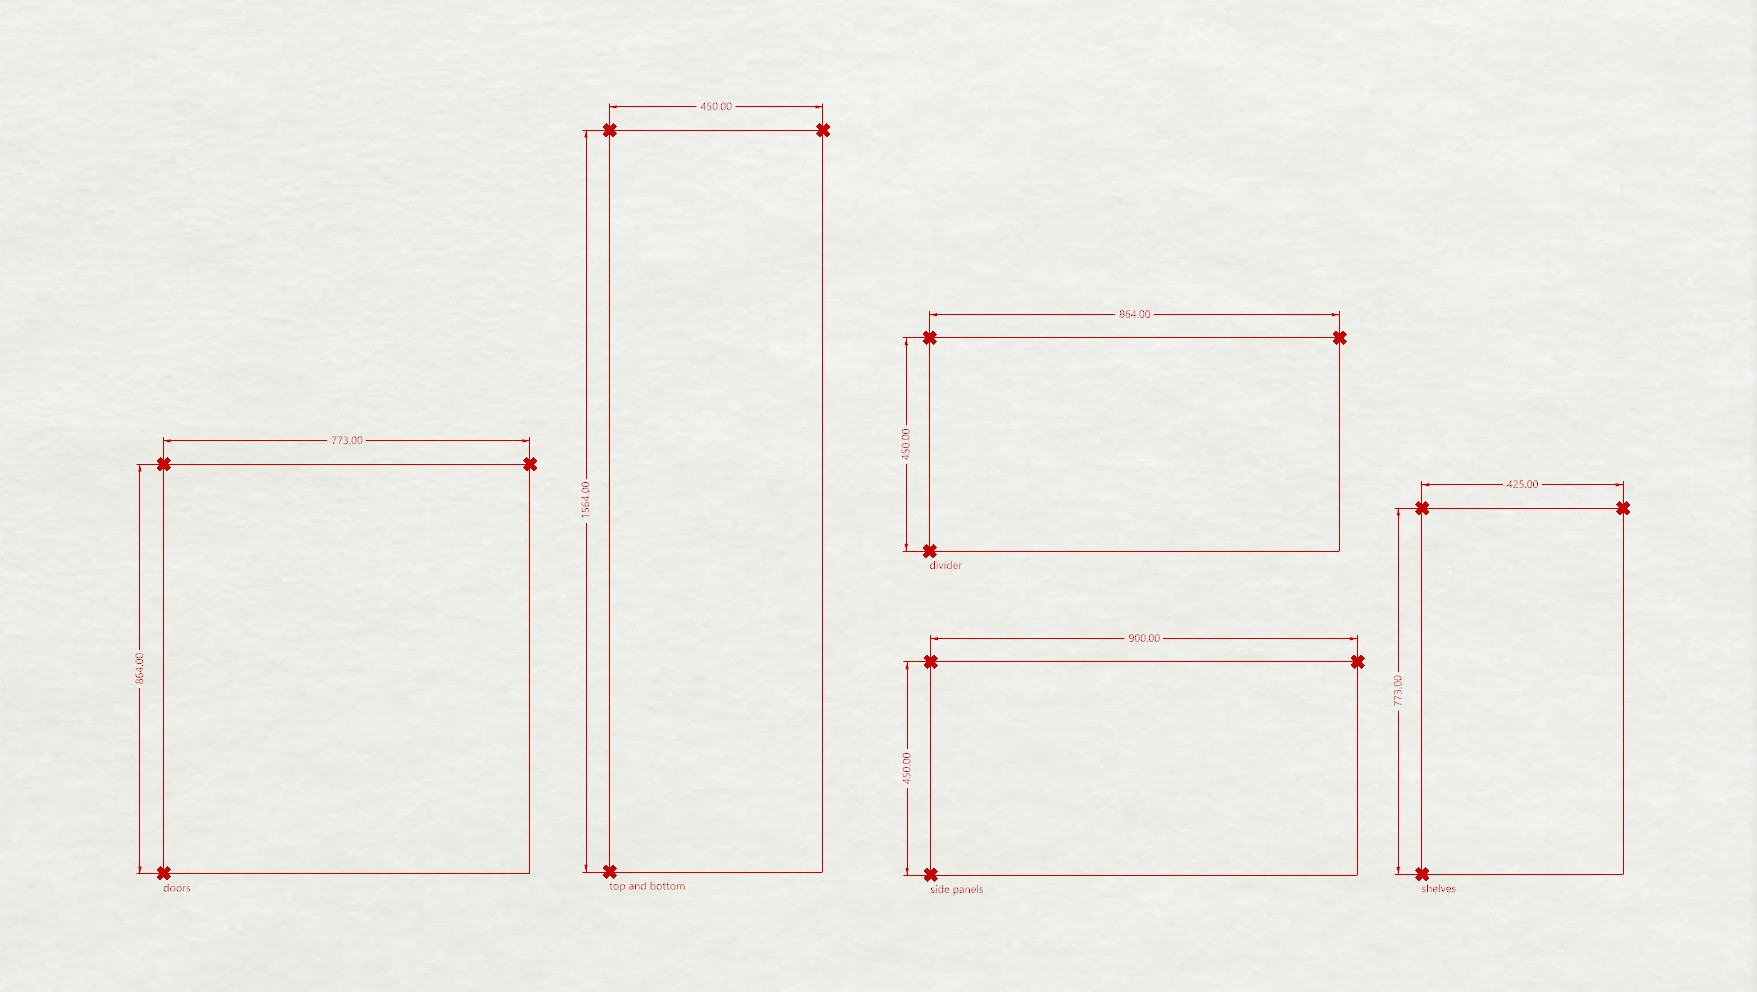
Another helpful feature of Grasshopper is that it can be used to generate an overview of the pieces you have to saw. I used CutList Optimizer to calculate the most optimal way to cut the underlayment boards I bought.
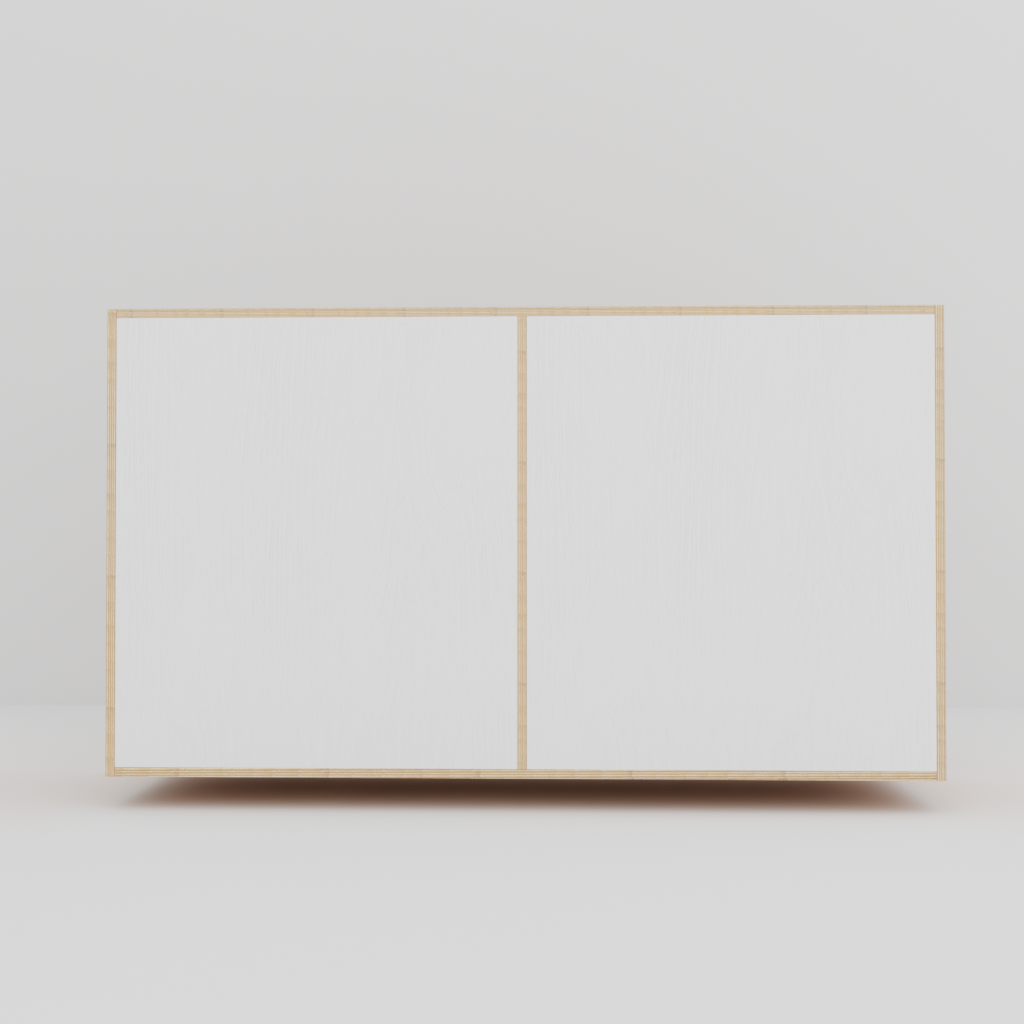
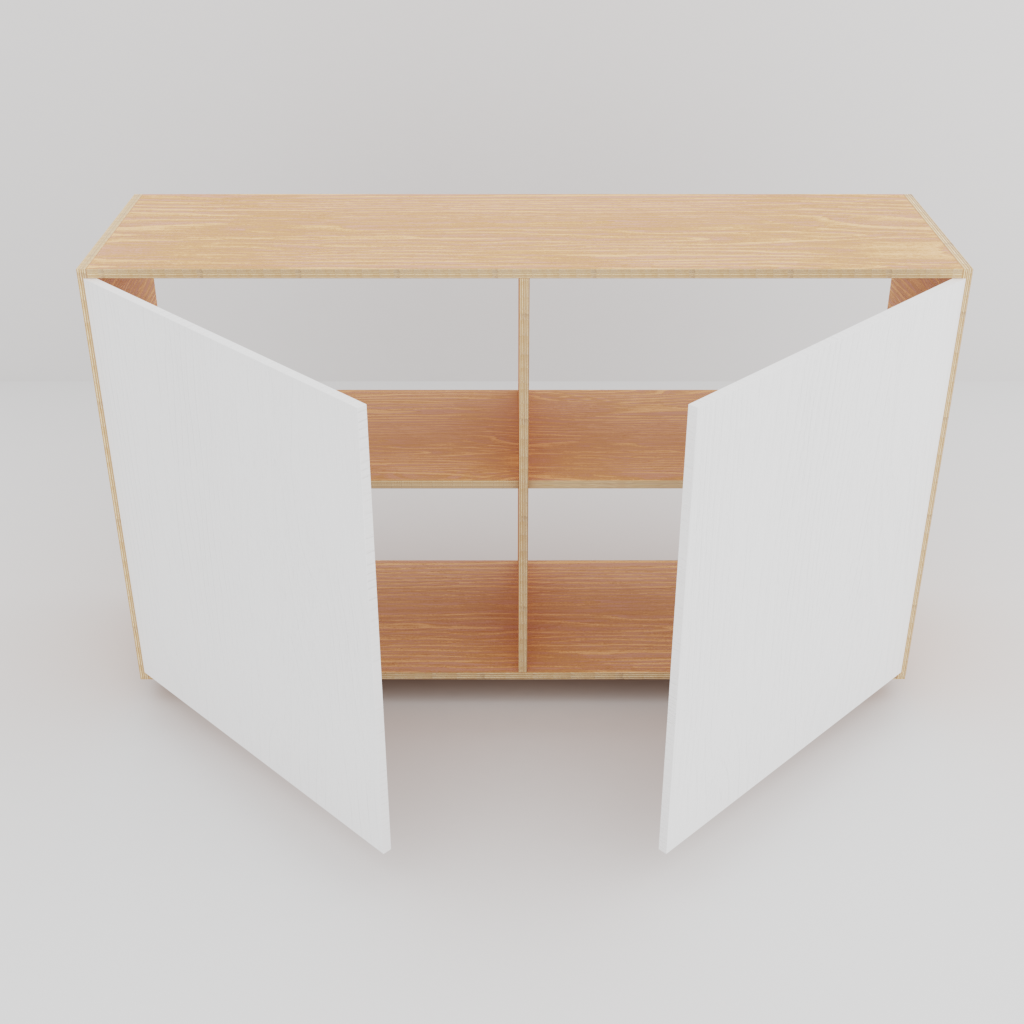
Once I found the best dimensions for my cabinet I exported the 3D model to an OBJ file and imported that into Blender which allowed me to preview some different styles: white doors - varnished side panels or white side panels and varnished doors:
Building the cabinet
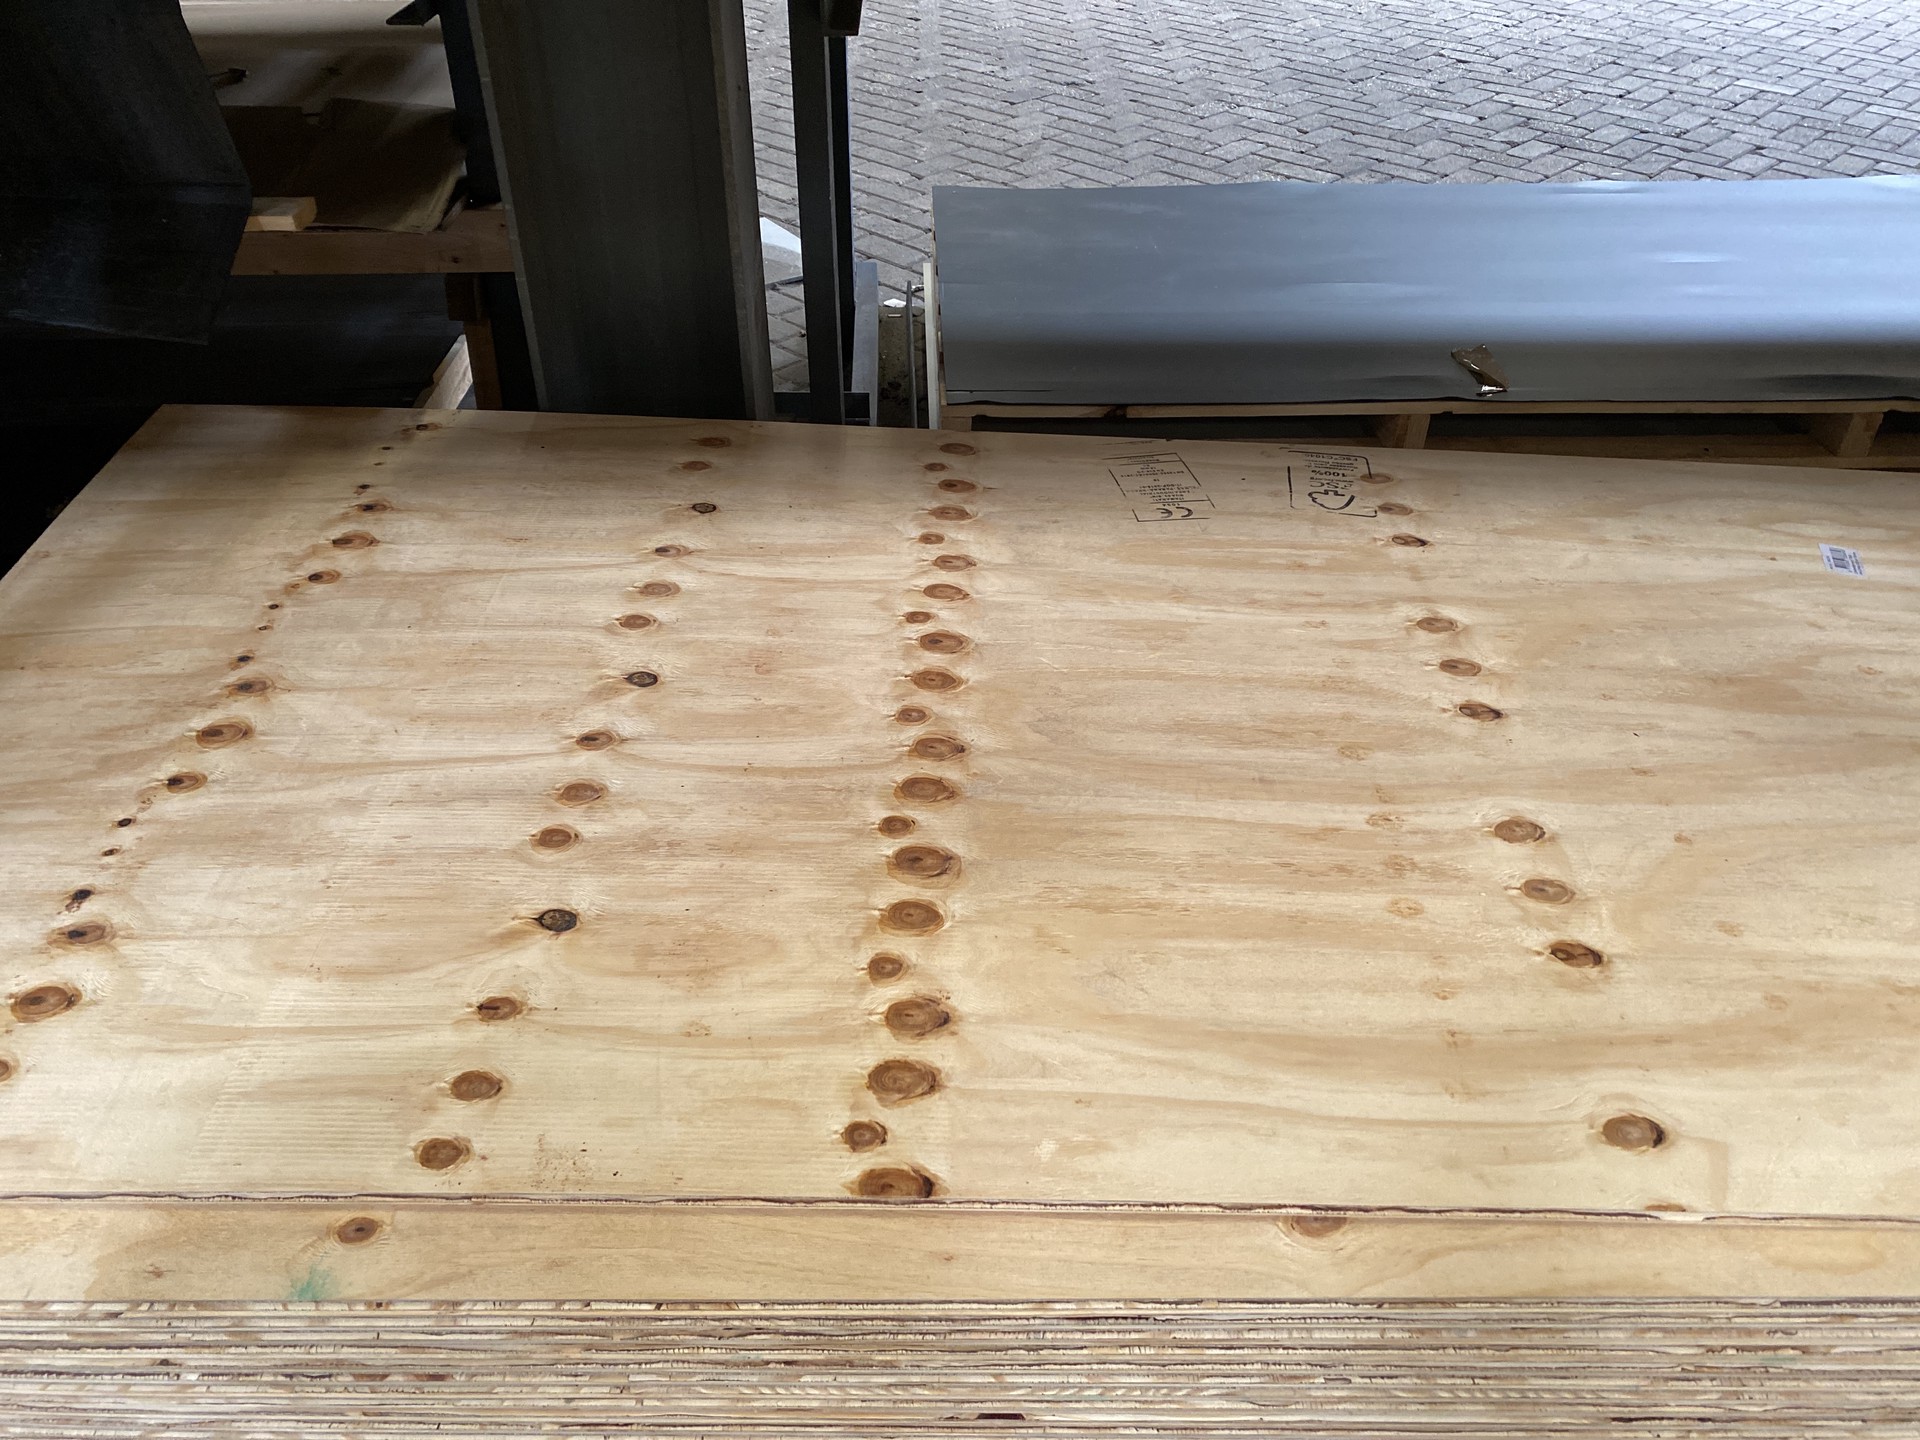
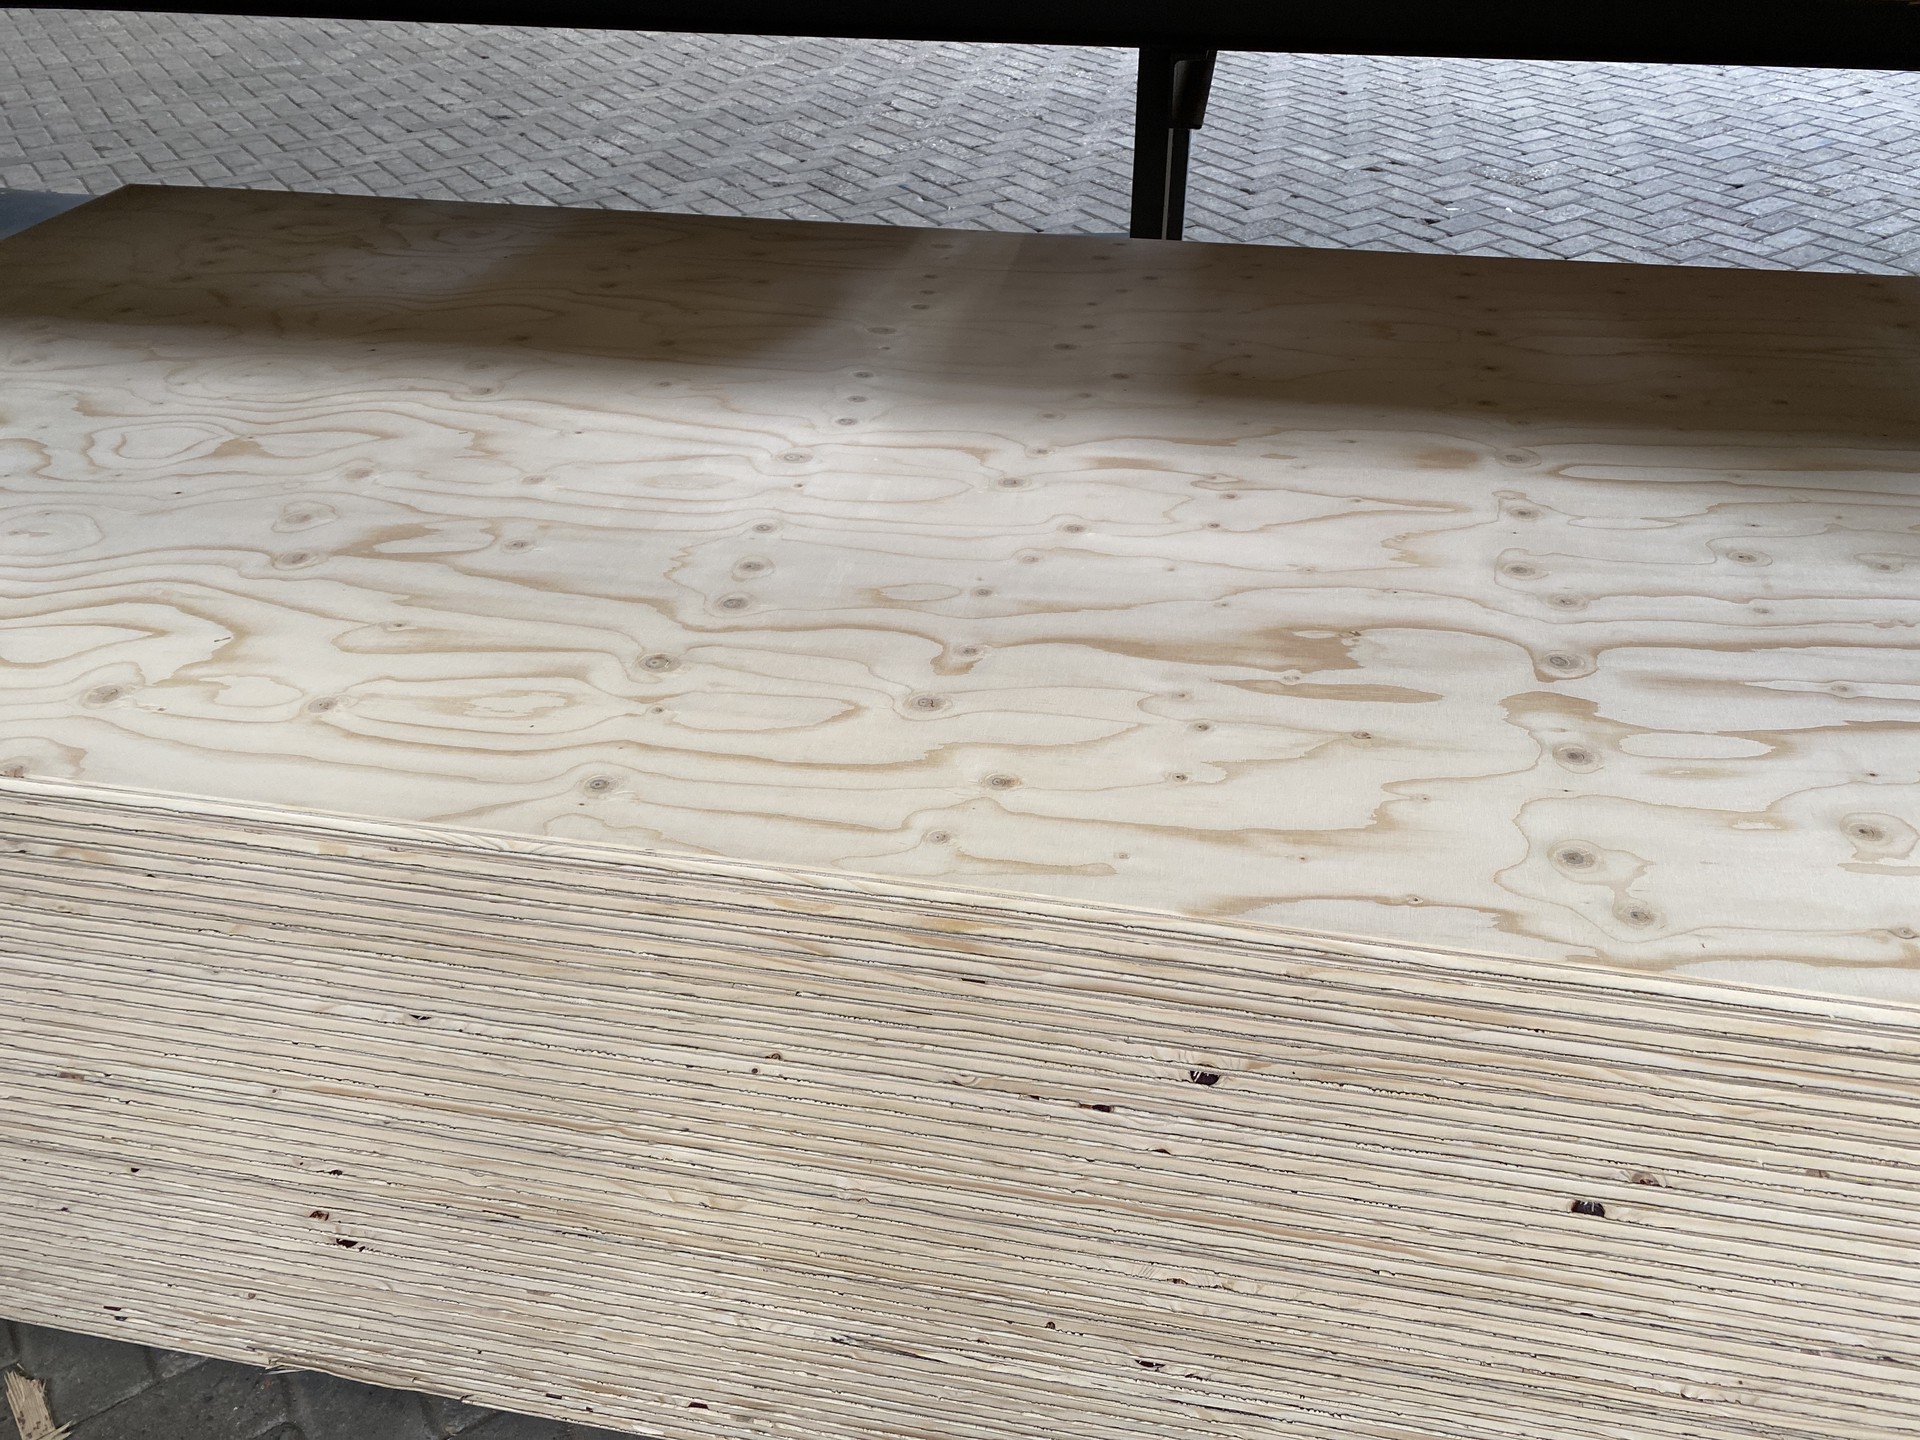
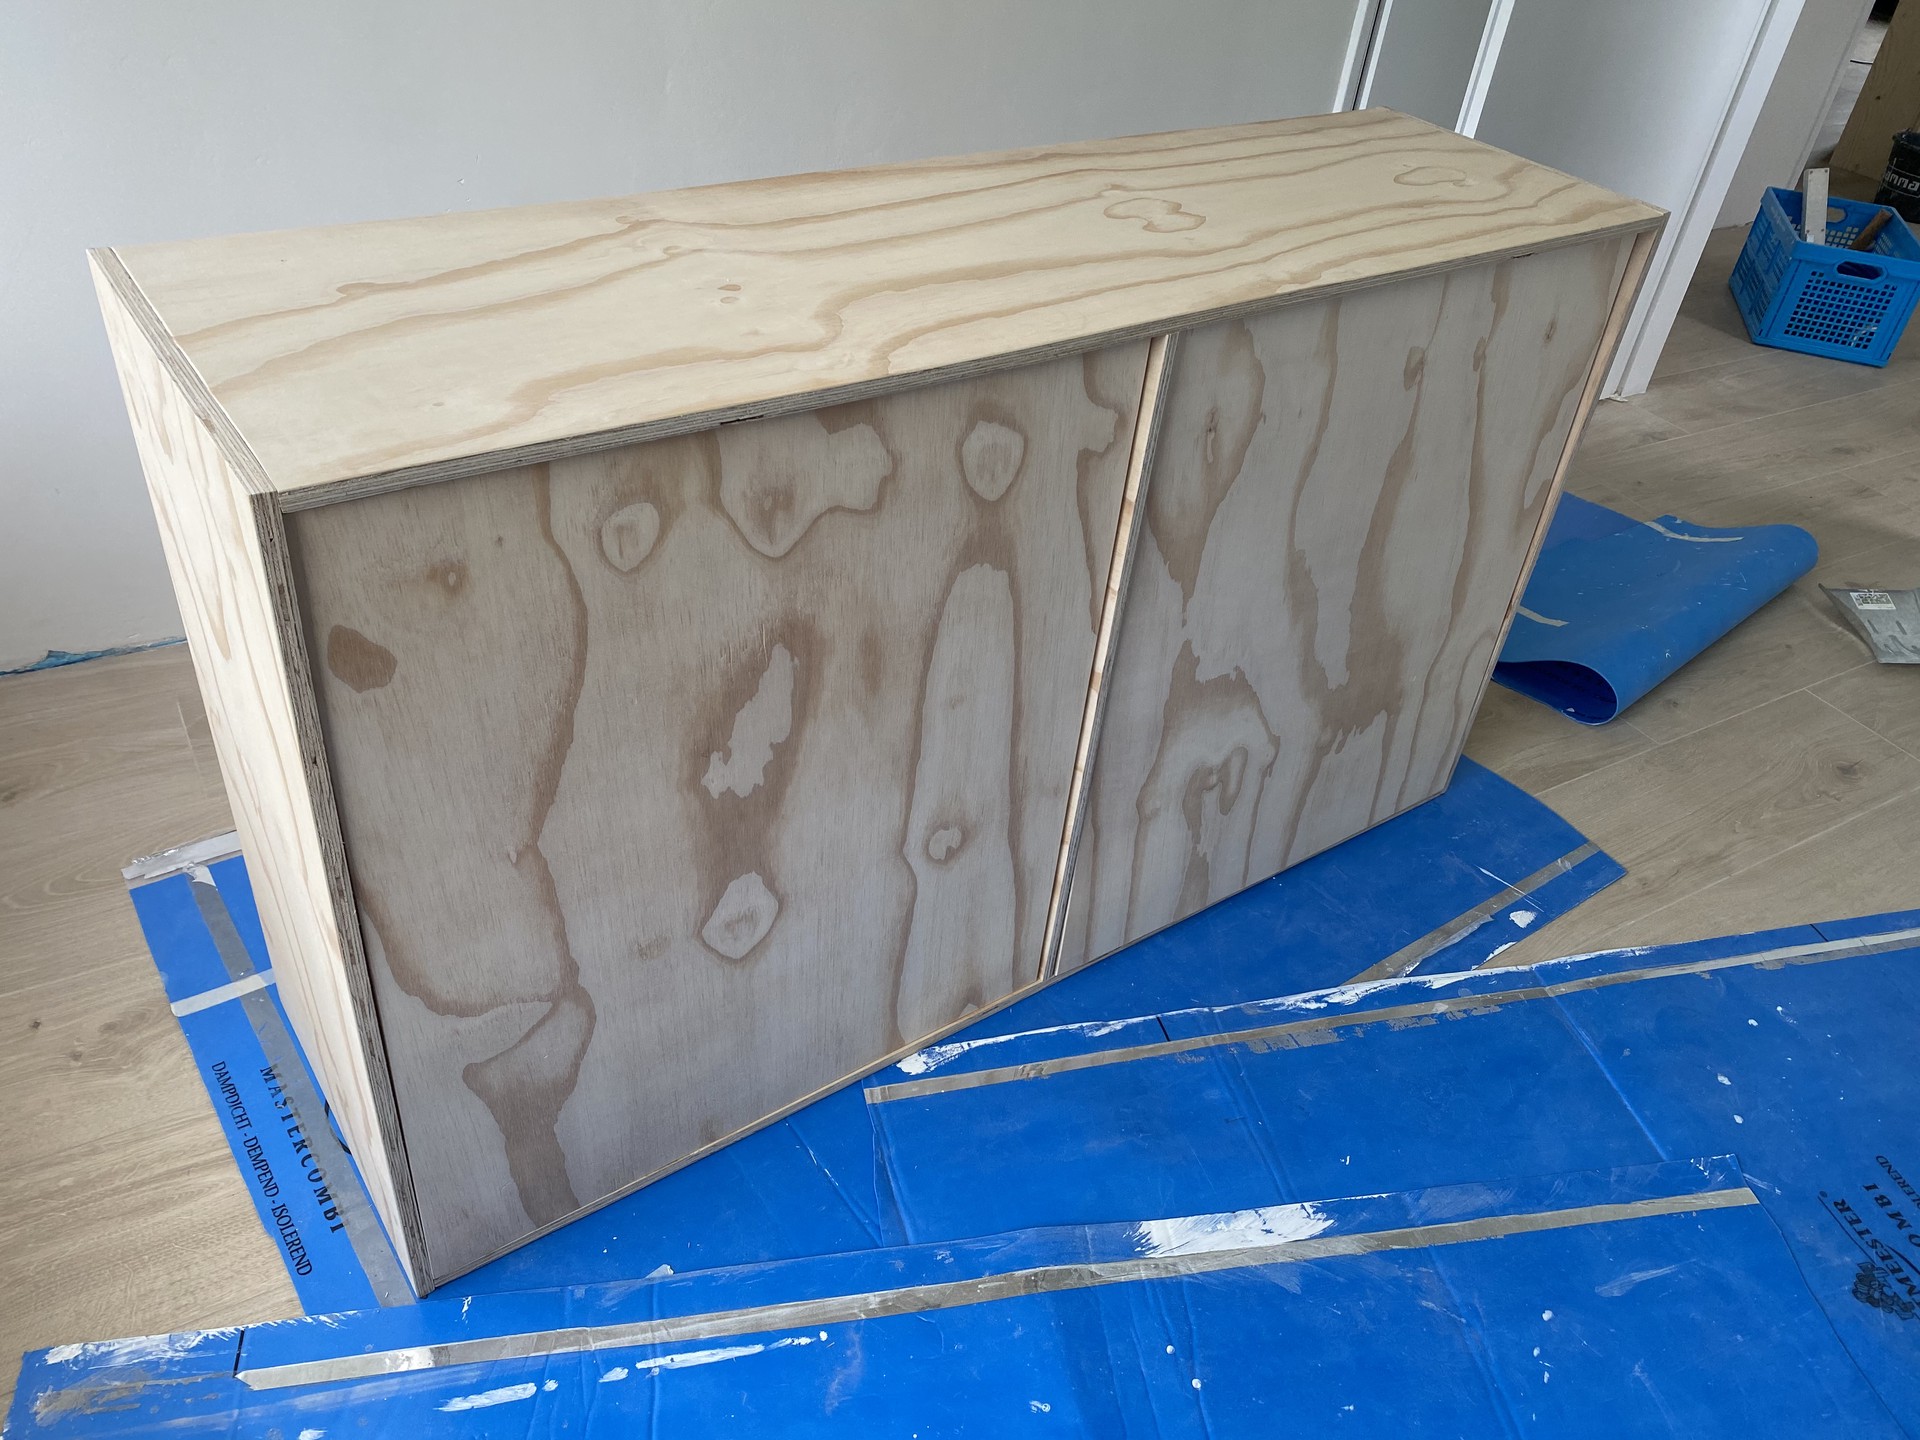
With the design and the optimal cut list, I went to a supplier for wood. I already knew I wanted to use plywood because I like the flames (pattern) of this particular wood. I had to do a little bit of research first as there are many different kinds of plywood with different patterns and different purposes.
Each type of plywood has a quality indication that uses codes like A/B/C/C+ etc. These codes describe the quality and what kind of imperfections can be expected. I bought Radiata Pine plywood which has a B/C indication. This means that one side (C) is a bit rougher than the other and only one side should be used for panels that you'll be able to see. The Radiata Pine boards almost have no brushes at all which makes them perfect for furniture. Another popular type is Finish plywood. I used a standard thickness of 18mm.
 Elliotis Pine
 Finish
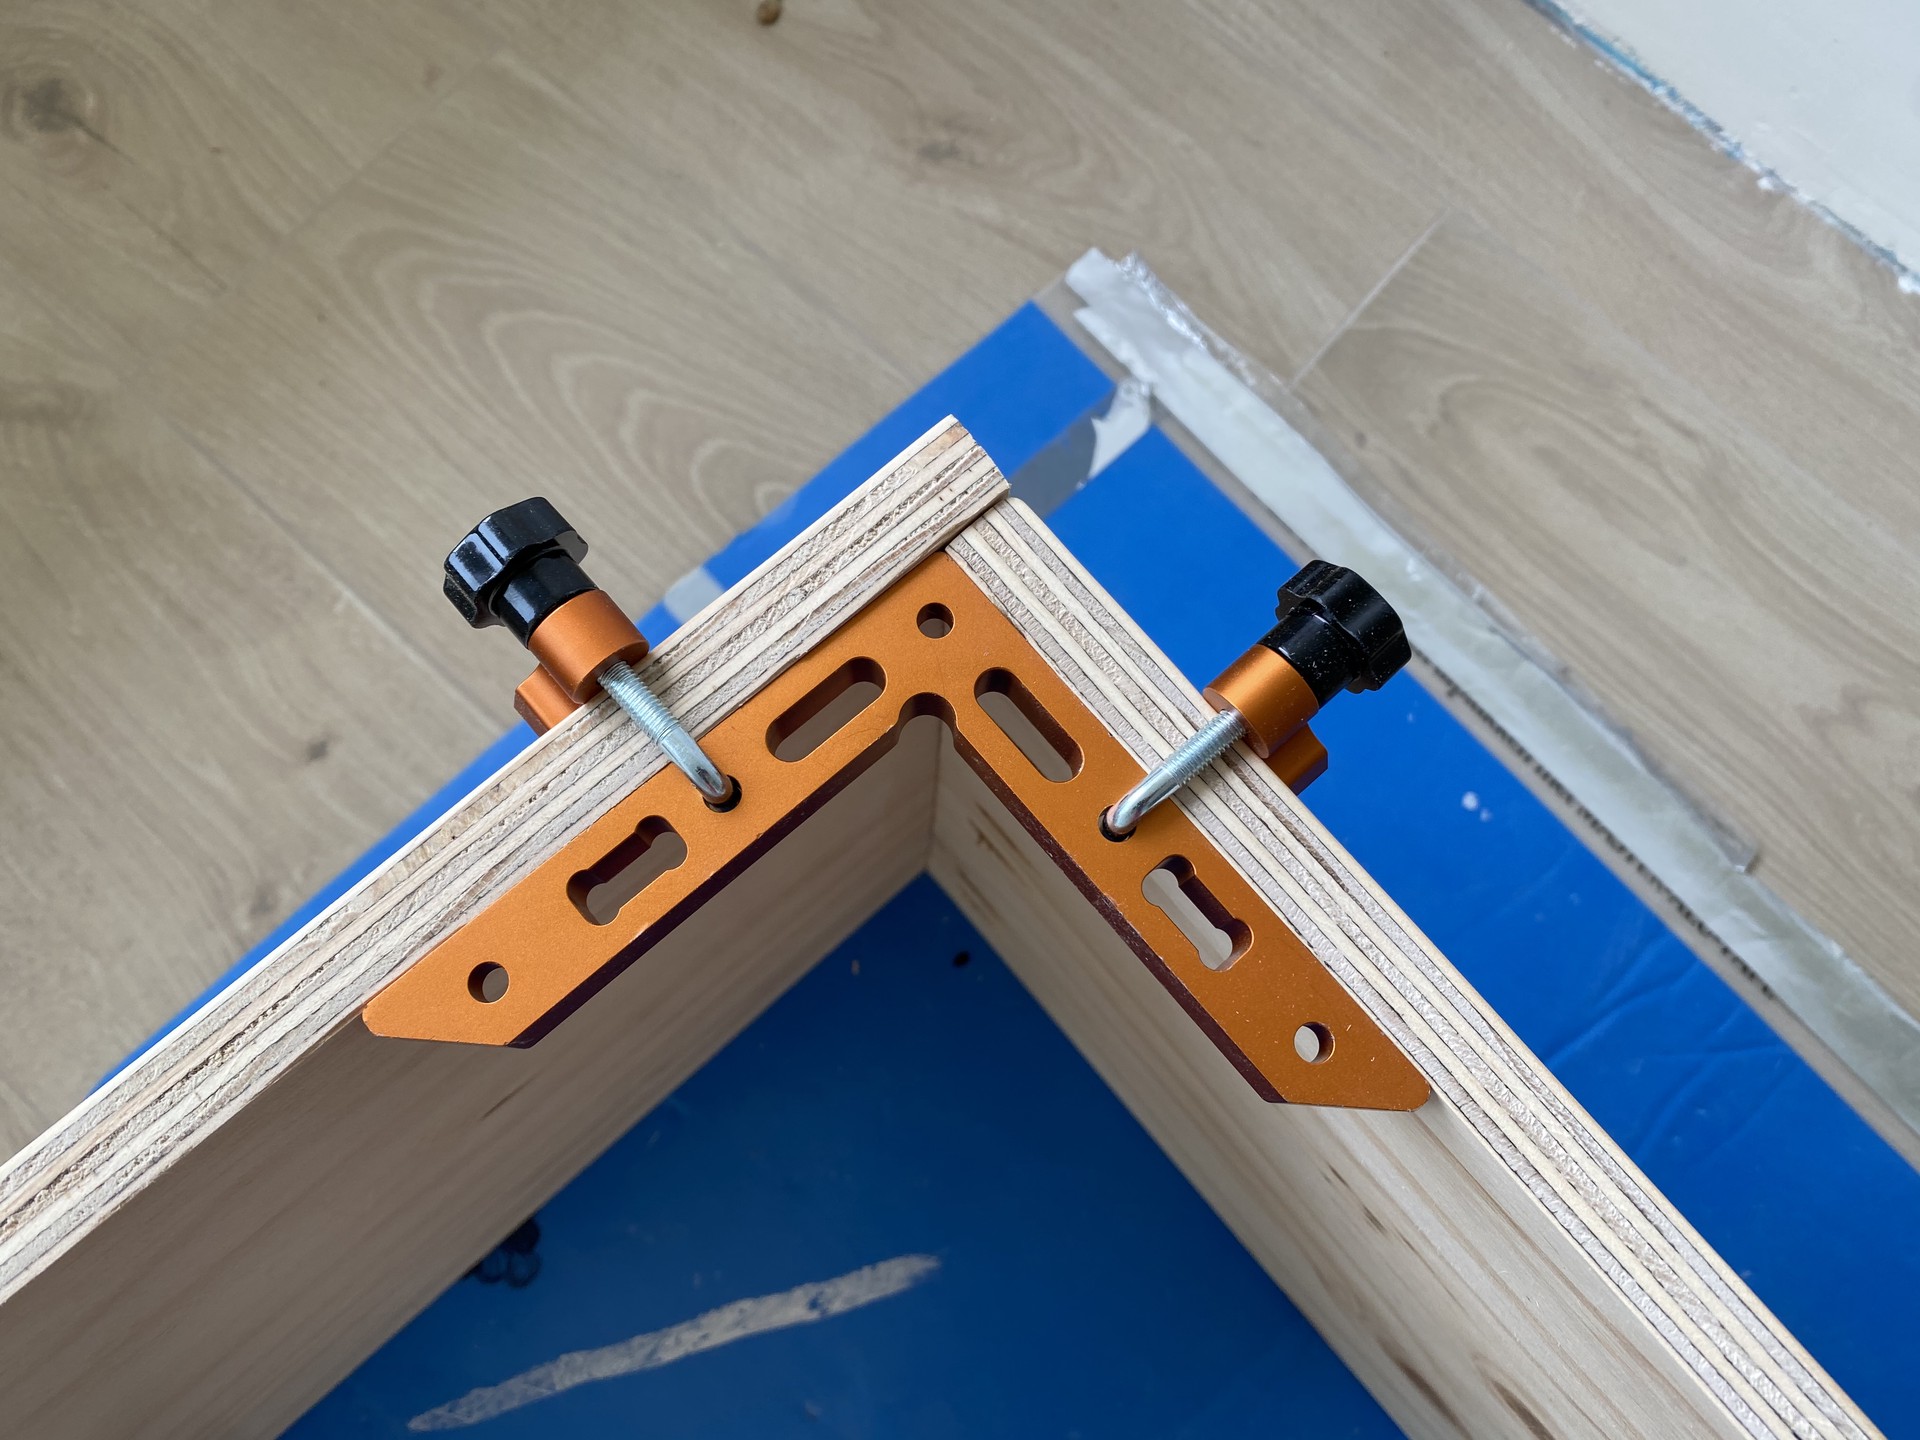
After the plywood was cut into the correct pieces I started the construction. Because this cabinet will be placed in my office, I decided to not spend a lot of time creating commonly used joints and instead use pocket hole screws to put everything together.
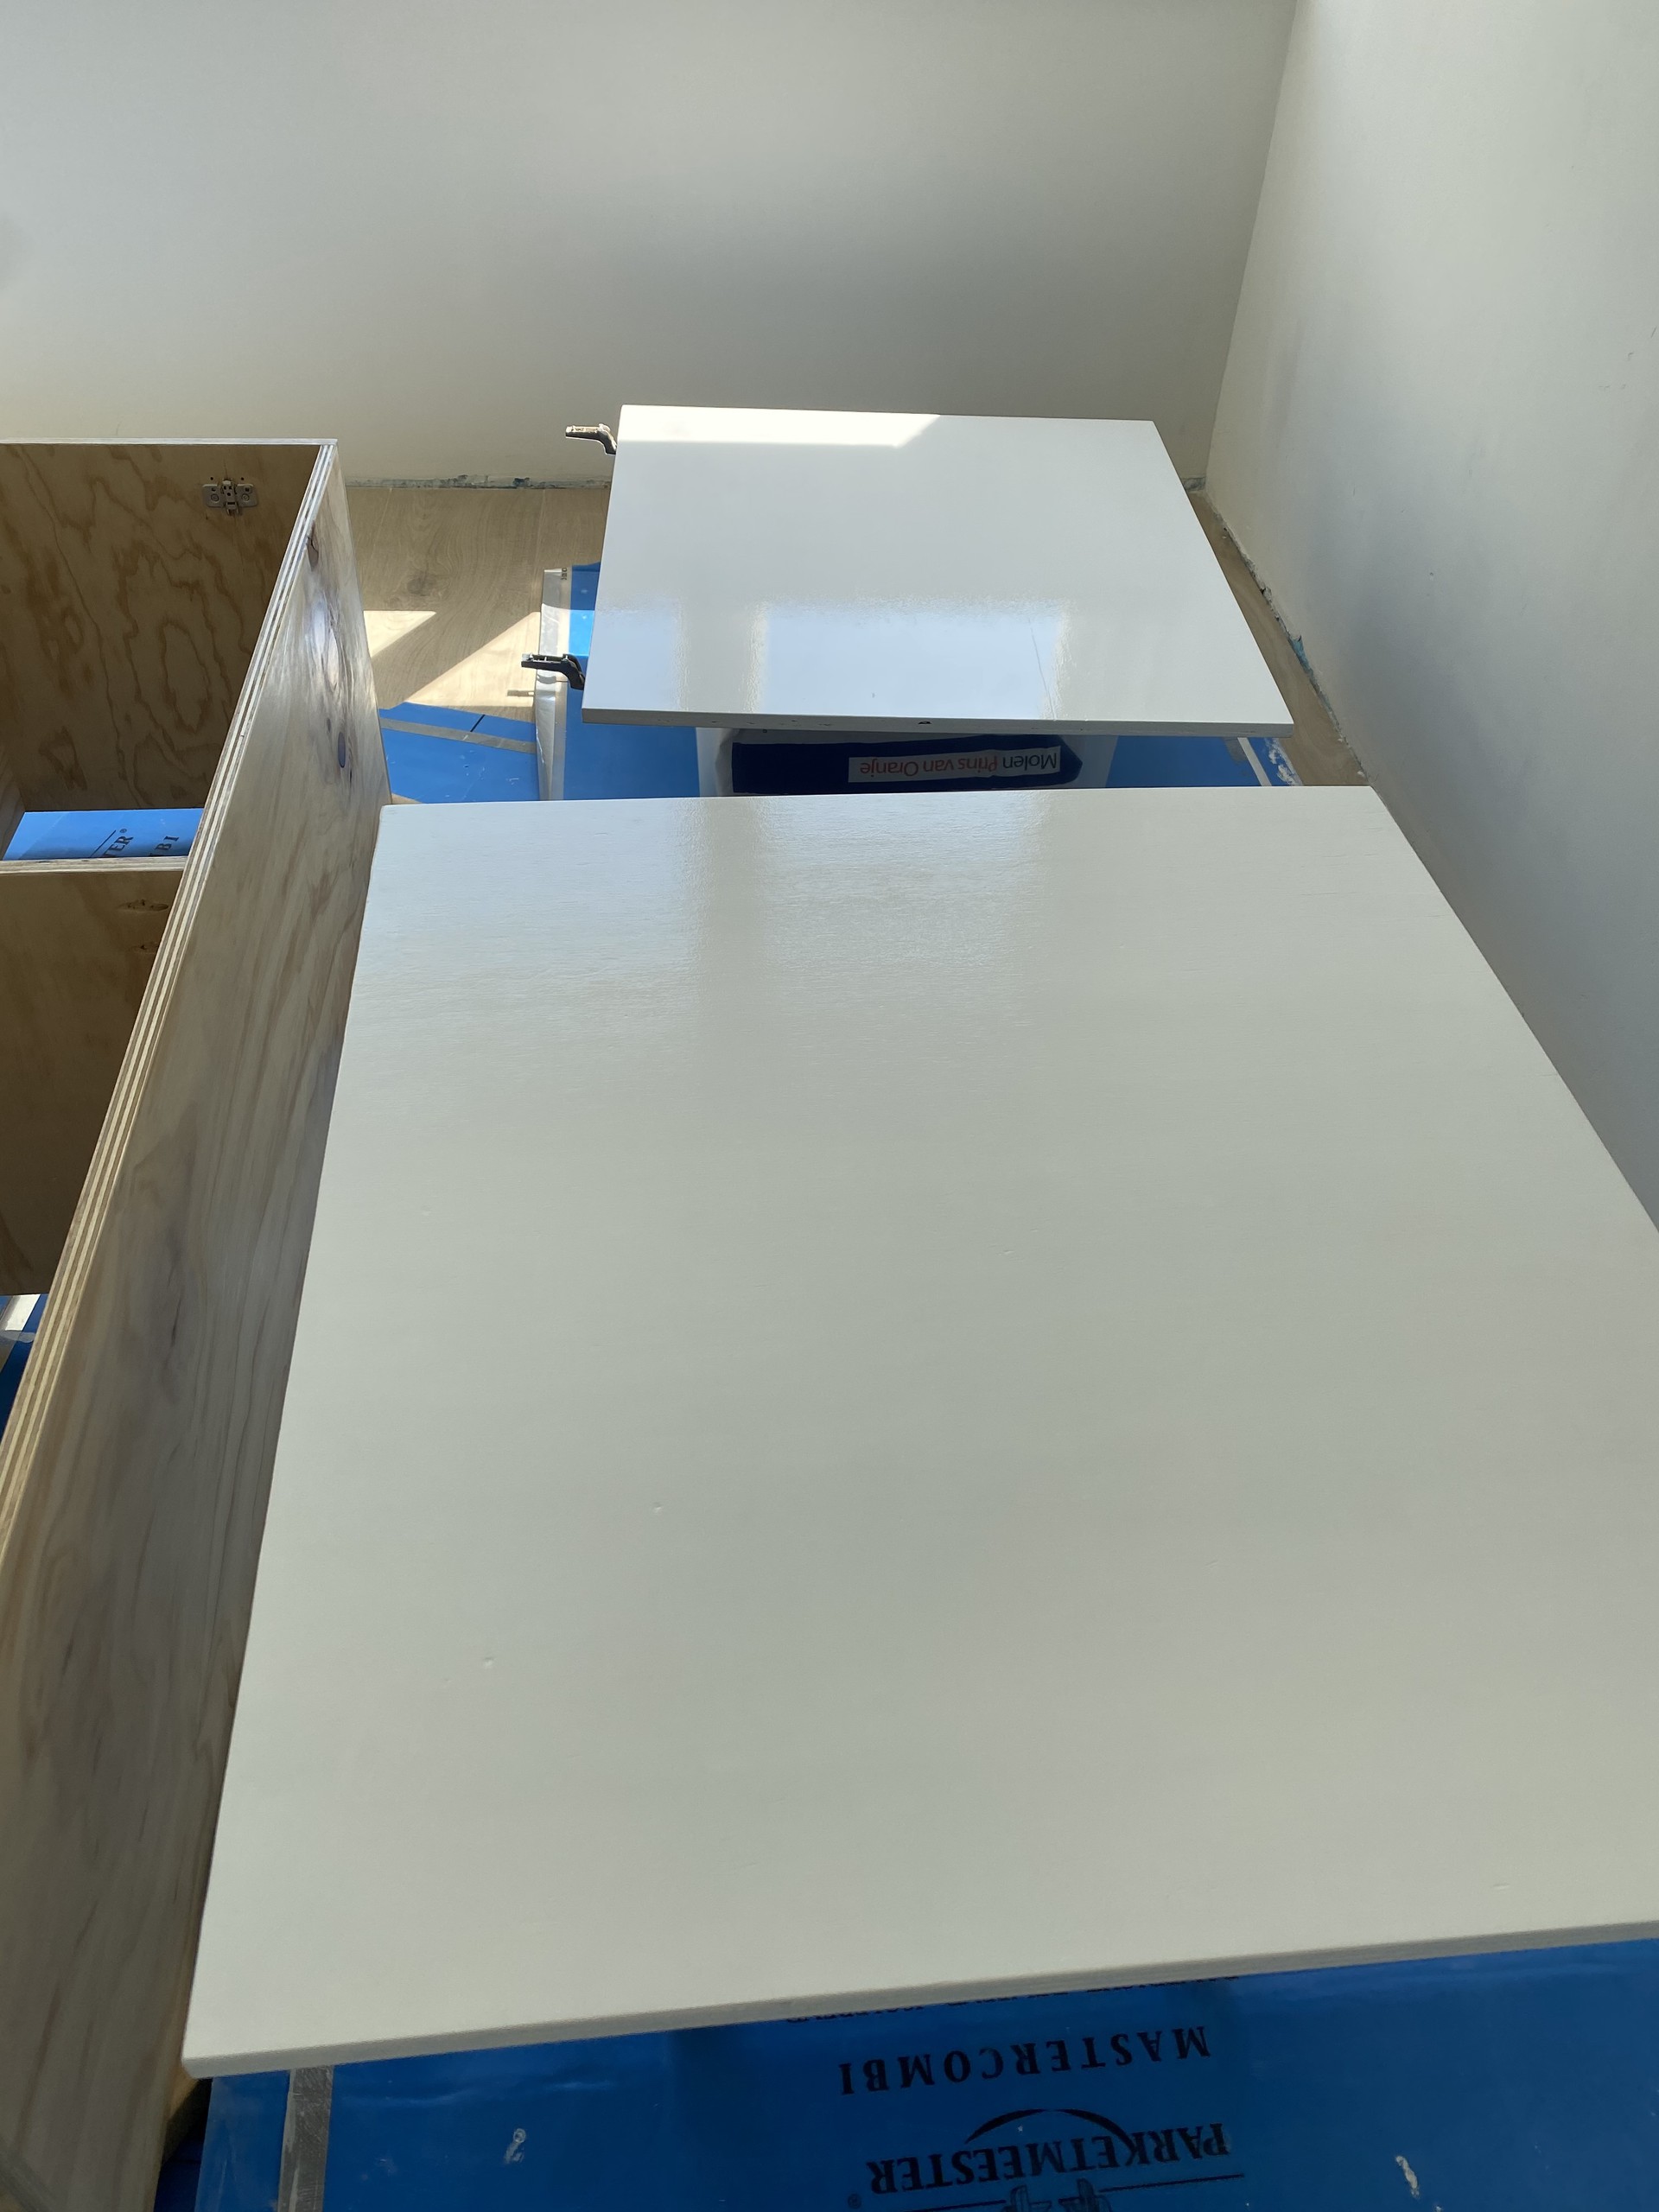
I sanded everything and painted the doors white using high quality paint. I wanted to get a sheen which means I had to make sure the surfaces were sanded correctly. You can find many videos on how to sand correctly, but probably the most important thing to remember is that you should "work the grits". This means you start with your most coarse grit, e.g. P80 and move towards your final grit. You can follow the Golden Rule of Sanding, which means you can skip one grit-value between sanding. For example, you can use P80, P120, P180, P240 and leave out P100, P150 and P220. Besides working the grits, I finished the surface one last time using a P400, which was recommended in a video, to get a very smooth, glossy finish.
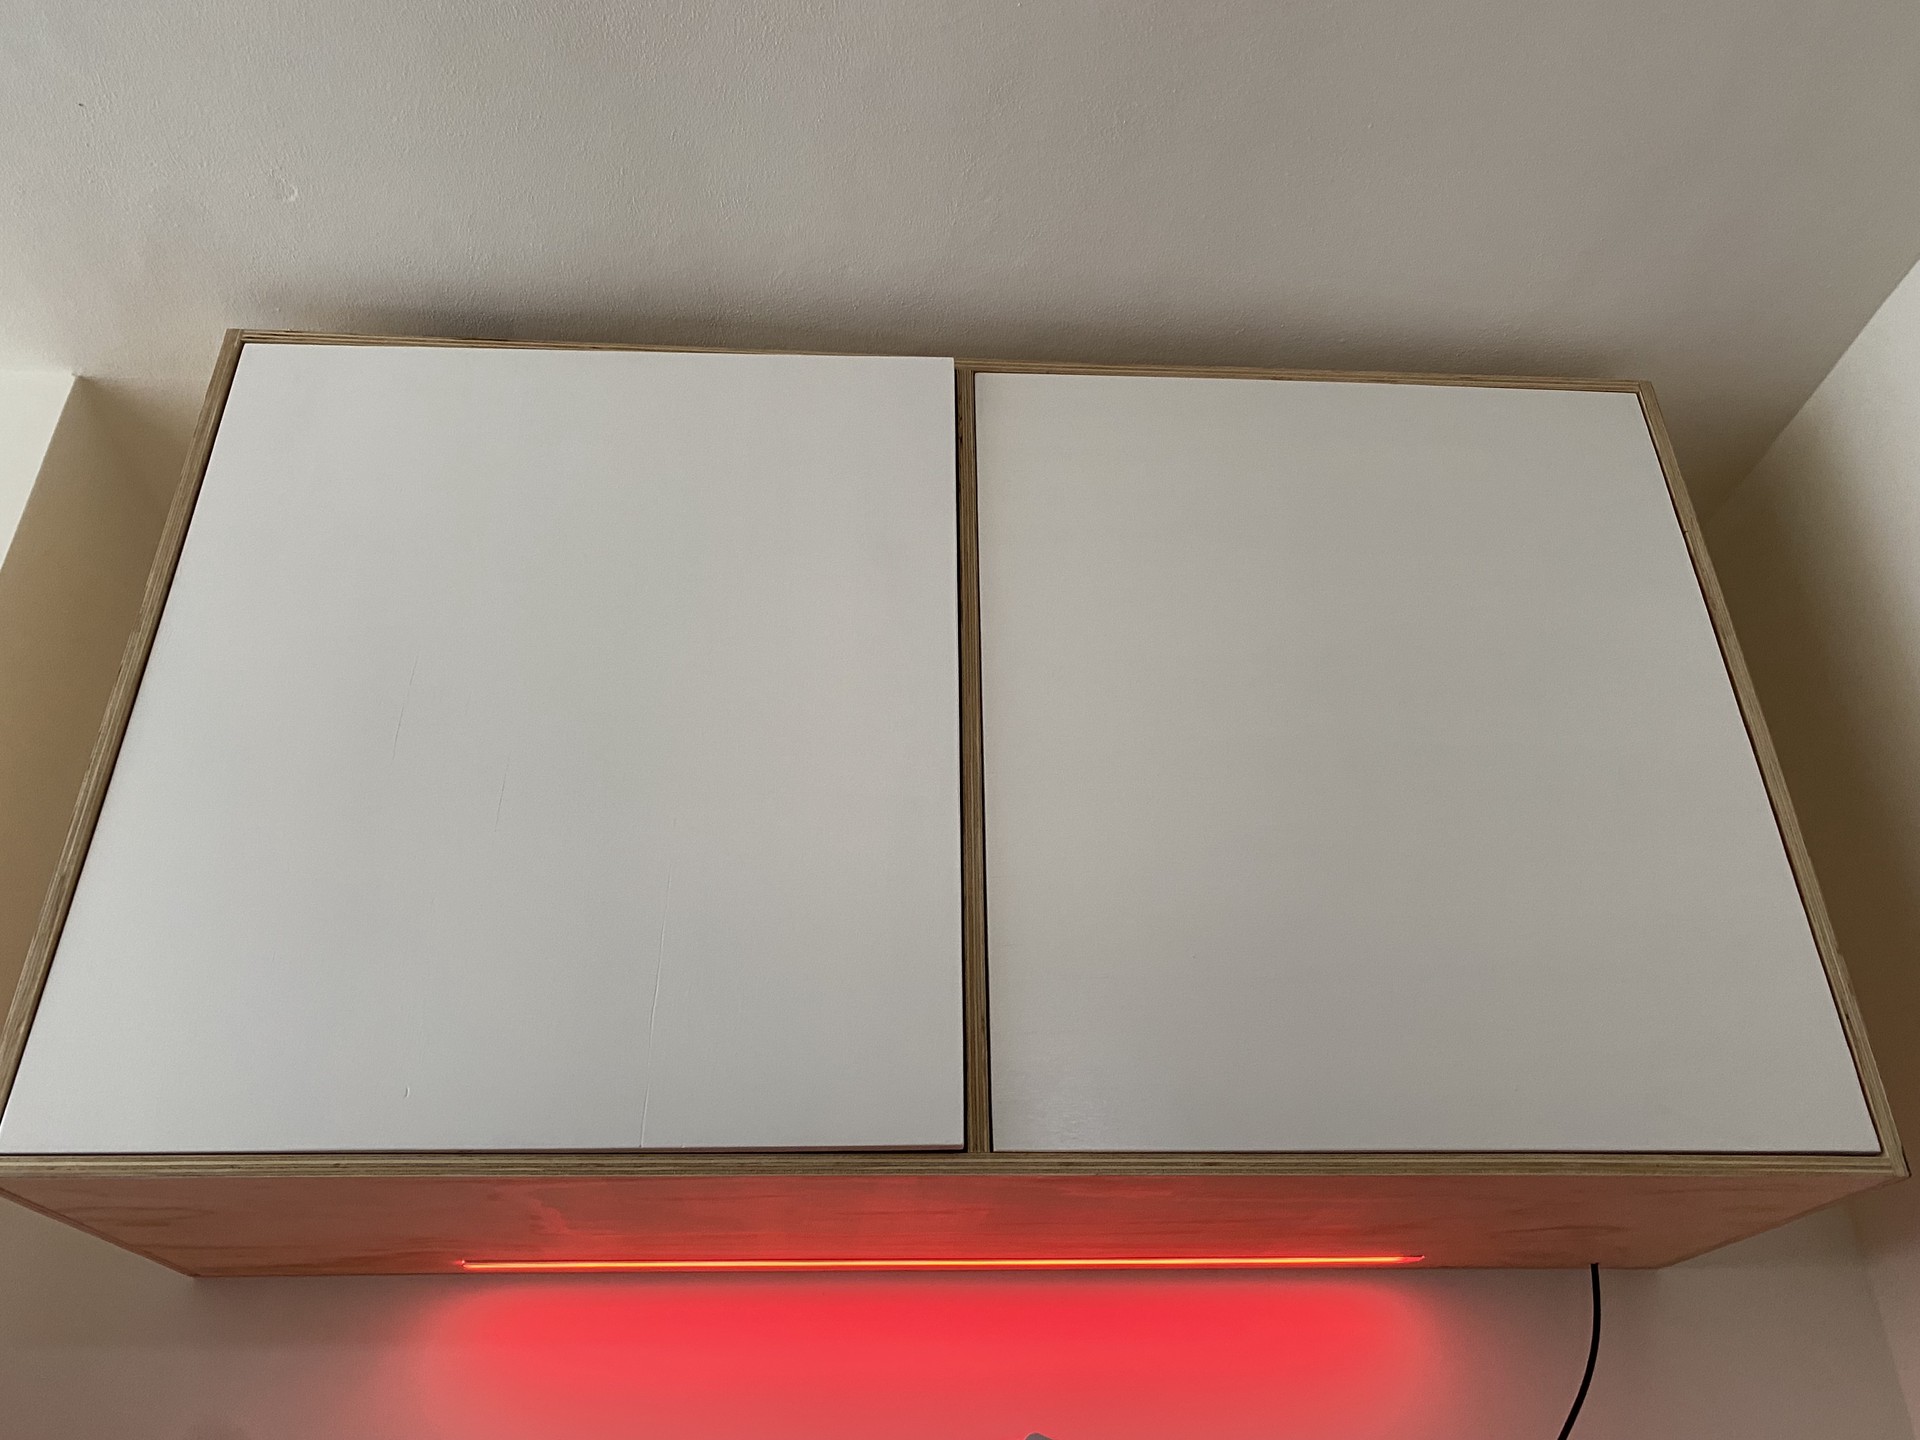
Embedding the LEDs
One of the main purposes of this cabinet is to experiment with ambient solutions that improve your "life" in some way. As I mentioned above, I want this cabinet to be more than just a static piece of furniture. I want the LED strip to give a short flash when someone rings my door. I'm also looking into using the LED strip to give feedback when my Bluetooth headset is successfully connected to my PC. I'll probably come up with different use cases in the future.
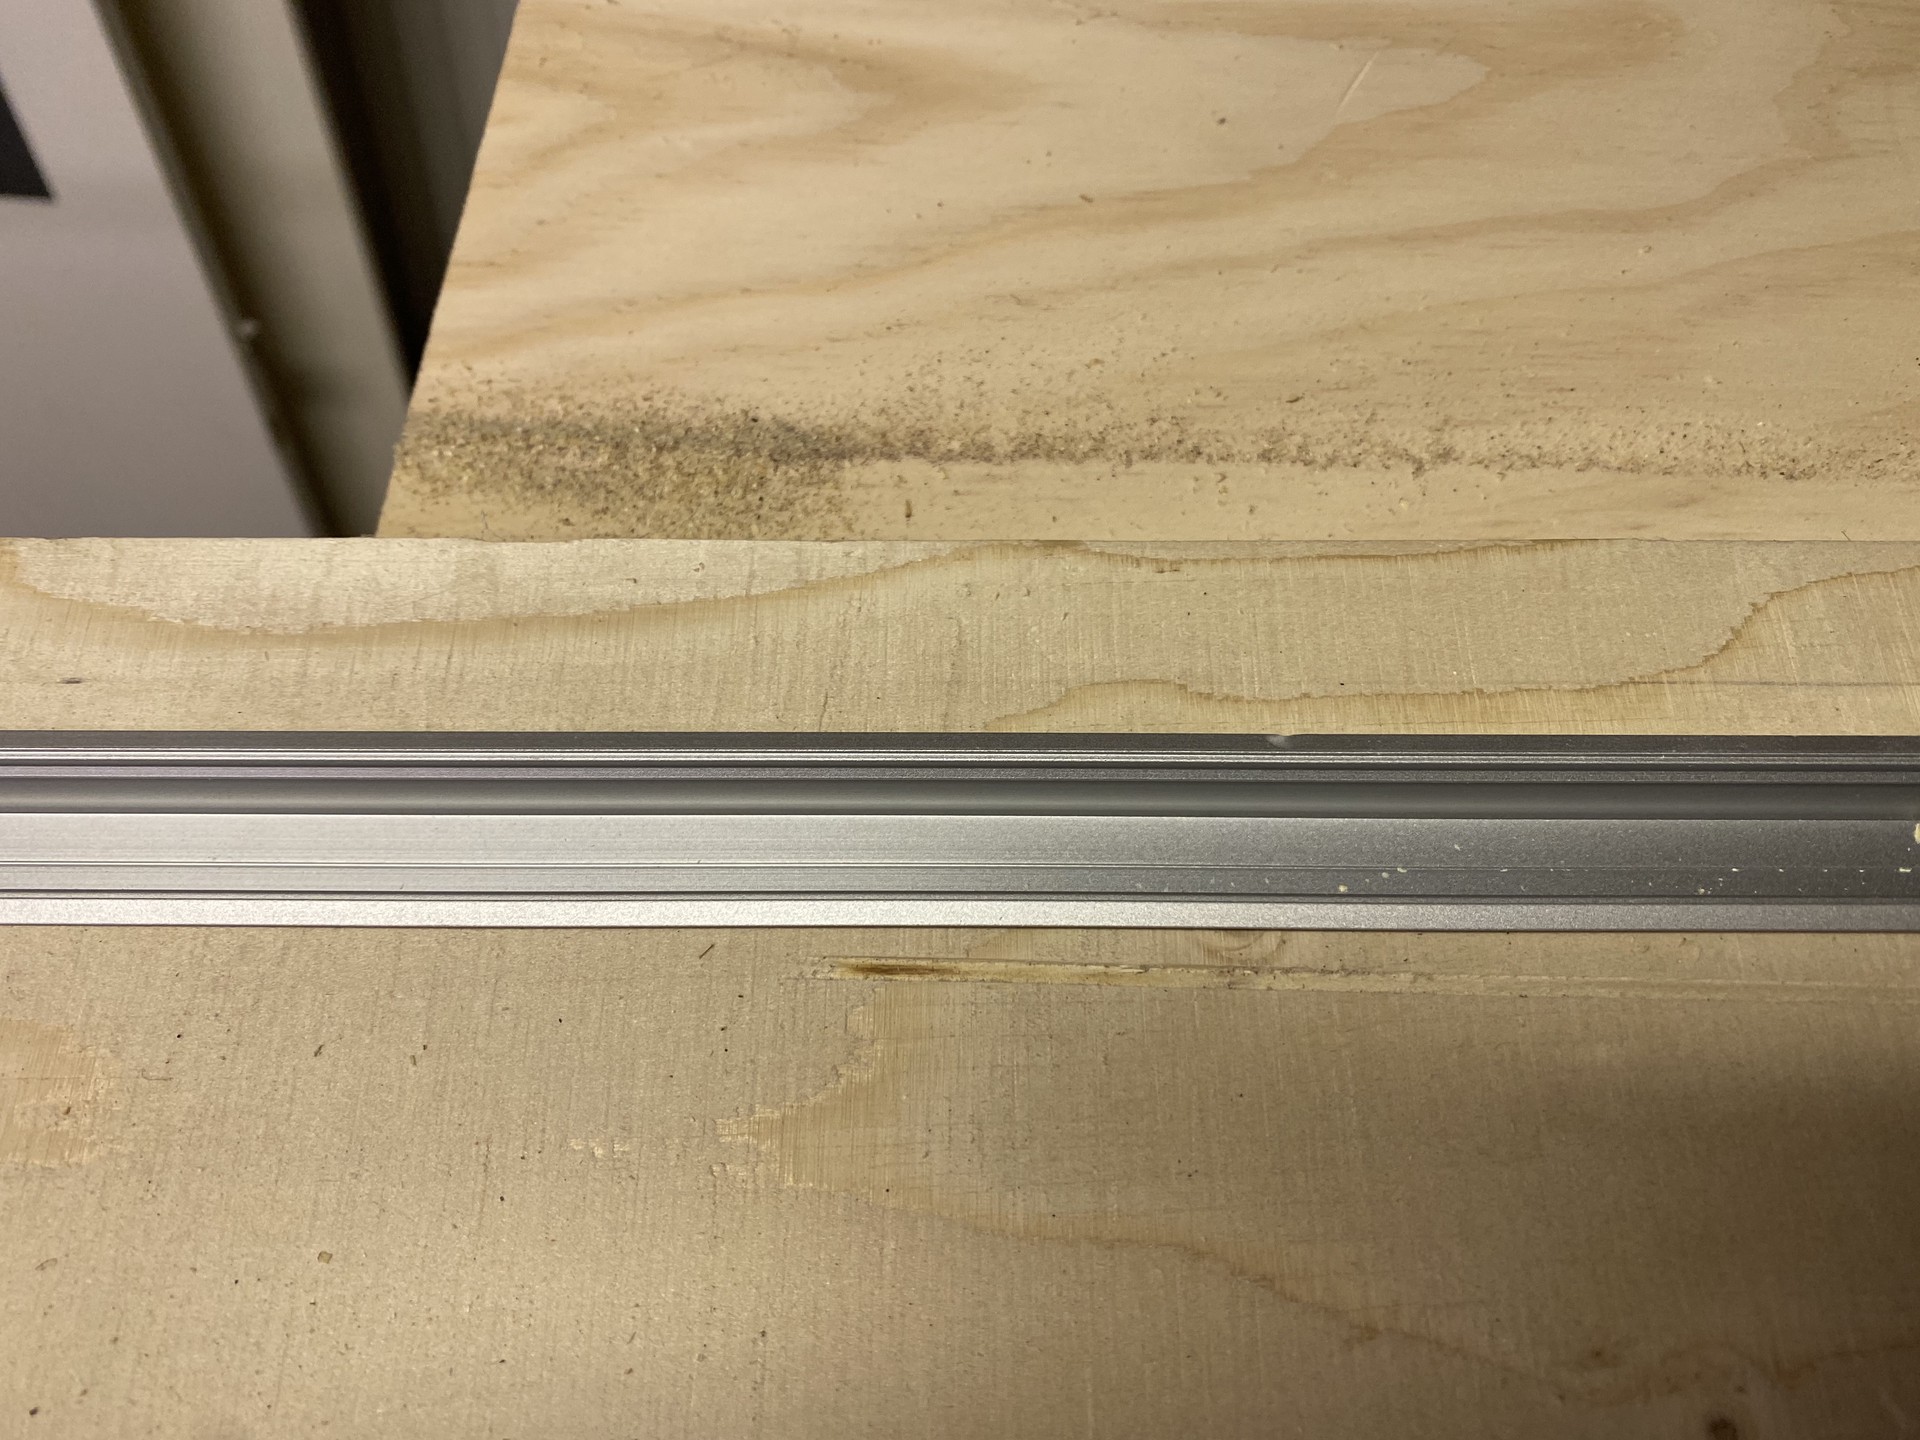
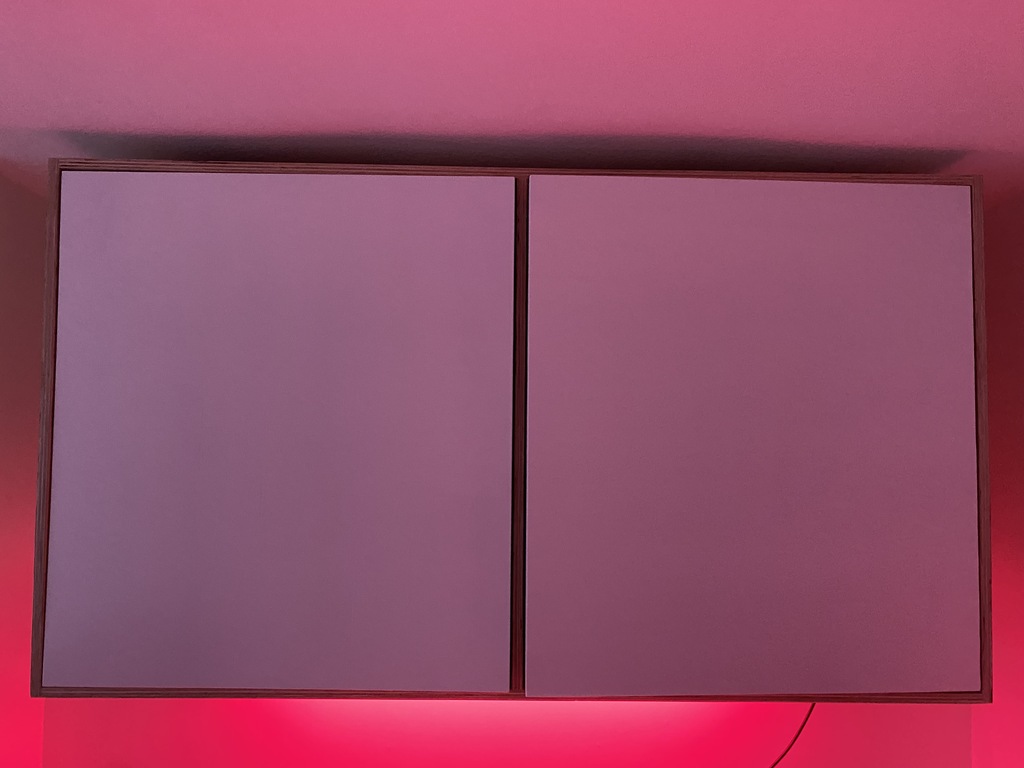
To embed the LEDs into the cabinet I used my router to cut a slot and fitted a profile with a coated cover that gives you a nice diffuse light. I made sure to buy a profile with enough depth to make sure you get a nice even distribution of the lights. A profile with a proper depth makes sure you will not see the individual LEDs. I've used a 5V, 144 RGBW-LEDs/m strip with an SK6812 control chipset.
After I had fitted the LEDs into the cabinet I had to select a solution to change the colors of the LEDs. I've integrated LEDs multiple times for different projects as you can see above in the photos of some of the interactive installations I've worked on. Most of these projects use some sort of more industrial-grade hardware that allows me to change the colors of the LEDs using a network protocol (TCP/UDP) like ArtNet. My favorite solution to drive many LEDs for production environments is PixLite 4 MkII or its bigger brother the PixLite 16 MkII.
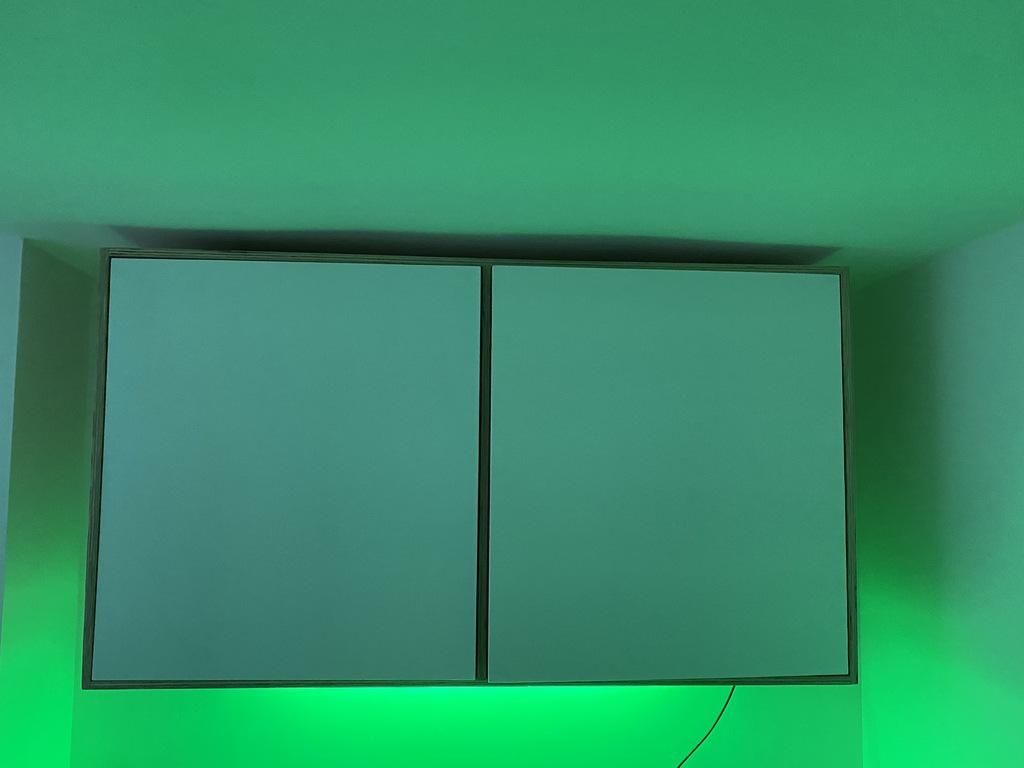
For this cabinet, I wanted to use a smaller, less industrial solution. I tinkered about using a NodeMcu with custom code to drive the LEDs but instead, I decided to use a publicly available open-source project called WLED. WLED makes it possible to use a small electronics board like the NodeMcu as a wireless controller for LEDs. You can send HTTP (or any of the other supported protocols) messages to change the colors dynamically.
After uploading WLED to my NodeMcu I configured the device to use the correct LED type and connected it to my local WIFI so I could access the device through my local network.
What's next
Now that I've got a cabinet with a built-in LED strip that I can control via TCP/UDP and external sensors I'm going to experiment to see if I can add features that improve my day-to-day work. I'm also looking at building solutions for conferences, shops, museums, etc. that will enhance the customer experience.

 NAT Types
 Building Cabinets
 Compiling GStreamer from source on Windows
 Debugging CMake Issues
 Dual Boot Arch Linux and Windows 10
 Mindset Updated Edition, Carol S. Dweck (Book Notes)
 How to setup a self-hosted Unifi NVR with Arch Linux
 Blender 2.8 How to use Transparent Textures
 Compiling FFmpeg with X264 on Windows 10 using MSVC
 Blender 2.8 OpenGL Buffer Exporter
 Blender 2.8 Baking lightmaps
 Blender 2.8 Tips and Tricks
 Setting up a Bluetooth Headset on Arch Linux
 Compiling x264 on Windows with MSVC
 C/C++ Snippets
 Reading Chunks from a Buffer
 Handy Bash Commands
 Building a zero copy parser
 Kalman Filter
 Saving pixel data using libpng
 Compile Apache, PHP and MySQL on Mac 10.10
 Fast Pixel Transfers with Pixel Buffer Objects
 High Resolution Timer function in C/C++
 Rendering text with Pango, Cairo and Freetype
 Fast OpenGL blur shader
 Spherical Environment Mapping with OpenGL
 Using OpenSSL with memory BIOs
 Attributeless Vertex Shader with OpenGL
 Circular Image Selector
 Decoding H264 and YUV420P playback
 Fast Fourier Transform
 OpenGL Rim Shader
 Rendering The Depth Buffer
 Delaunay Triangulation
 RapidXML
 Git Snippets
 Basic Shading With OpenGL
 Open Source Libraries For Creative Coding
 Bouncing particle effect
 OpenGL Instanced Rendering
 Mapping a texture on a disc
 Download HTML page using CURL
 Height Field Simulation on GPU
 OpenCV
 Some notes on OpenGL
 Math
Math
 Gists to remember
 Reverse SSH
 Working Set
 Consumer + Producer model with libuv
 Parsing binary data
 C++ file operation snippets
 Importance of blur with image gradients
 Real-time oil painting with openGL
 x264 encoder
 Generative helix with openGL
 Mini test with vector field
 Protractor gesture recognizer
 Hair simulation
 Some glitch screenshots
 Working on video installation
 Generative meshes
 Converting video/audio using avconv
 Auto start terminal app on mac
 Export blender object to simple file format