Back to posts.

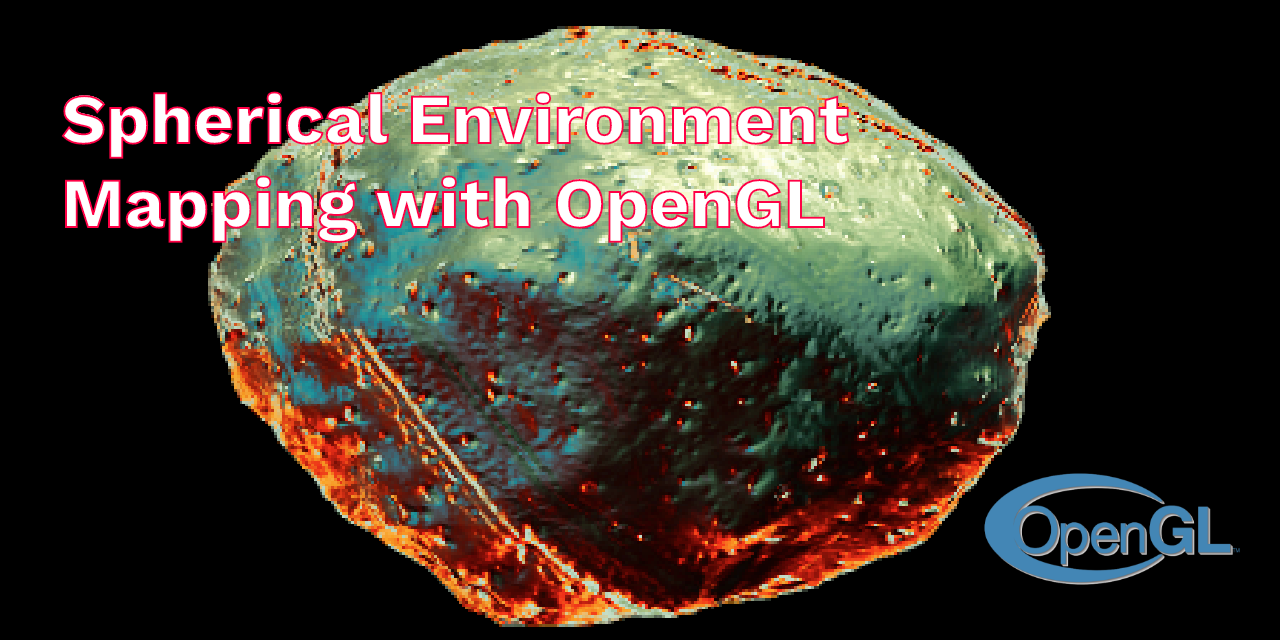
Spherical Environment Mapping with OpenGL
ARTICLE NOT FINISHED
Recently I found this great tutorial on spherical environment mapping
which is an easy solution to add some detailed lighting to a visualisation. The
great thing about this technique, is that you can use a simple 2D texture to
define how the lighting and reflection of you model looks. This gives you an
extremelly easy tool for fine tuning the appearence of your objects.
I'm going to describe my implementation here, which is basically the same as
the above linked one; this is just one for my reference. Another great and more
indepth article on how this technique works is described in this description from
1999 by Paul Zimmons.
Describing the environment
There are a couple of common techniques that are used with environment mapping.
You have spherical, cubic and parabolic environment mappings all with their own pros
and cons. Spherical mapping has the great advantage that is just uses one texture
and it's cheap to perform the necessary calculations.
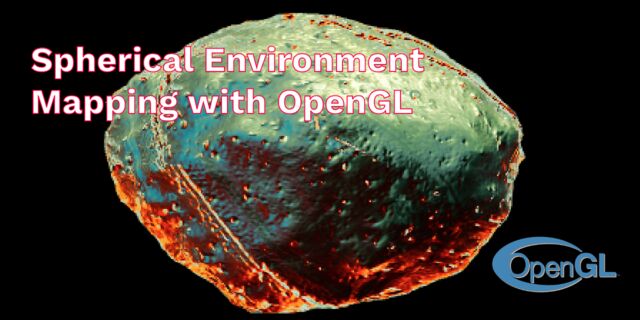
Below you can see how these spherical environment images, also called matcaps,
look like. When you google for matcap, lit sphere, light probe you'll find a lot
of these images. That's how I found the image below ... not knowing who the owner
is (sorry)...
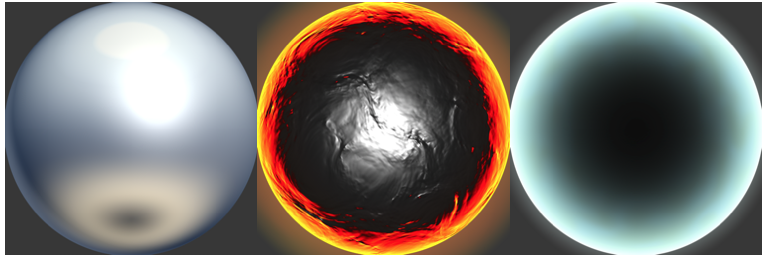
You can think of this image as a description of how your object will be
shaded. From below it will have red/dark color shades and from the top it
will be bright. When rendering an arbitrary object I created with blender
(with normal mapping) you get something like this:

Shaders
In your vertex shader we will be calculating the texture coordinate that
we need to use with our matcap texture. The mapping between the texture coordinate
and matcap is described in geat detail in the article of Paul Zimmons.
-
 NAT Types
This is so exciting, in this article I dive into some of the different ways a NAT device translates addresses which is important for peer-to-peer connections.
NAT Types
This is so exciting, in this article I dive into some of the different ways a NAT device translates addresses which is important for peer-to-peer connections.
-
 Building Cabinets
In this post I dive into the design and construction of a cabinet with an interact LED strip. I also explain how I dynamically change the colors of the LEDs over TCP/UDP.
Building Cabinets
In this post I dive into the design and construction of a cabinet with an interact LED strip. I also explain how I dynamically change the colors of the LEDs over TCP/UDP.
-
 Compiling GStreamer from source on Windows
How to compile GStreamer on Windows from Source using Visual Studio 2019 and the meson build system.
Compiling GStreamer from source on Windows
How to compile GStreamer on Windows from Source using Visual Studio 2019 and the meson build system.
-
 Debugging CMake Issues
In this post I explain a process you can follow to debug issues with CMake by focusing on a specific target and making the output verbose.
Debugging CMake Issues
In this post I explain a process you can follow to debug issues with CMake by focusing on a specific target and making the output verbose.
-
 Dual Boot Arch Linux and Windows 10
How to install Arch Linux and Windows 10 Pro as dual boot. A step by step tutorial how to create bootable installers, partition and setup a dual boot menu.
Dual Boot Arch Linux and Windows 10
How to install Arch Linux and Windows 10 Pro as dual boot. A step by step tutorial how to create bootable installers, partition and setup a dual boot menu.
-
 Mindset Updated Edition, Carol S. Dweck (Book Notes)
Paragraphs I marked from the book "Mindset" from Carol S. Dweck.
Mindset Updated Edition, Carol S. Dweck (Book Notes)
Paragraphs I marked from the book "Mindset" from Carol S. Dweck.
-
 How to setup a self-hosted Unifi NVR with Arch Linux
A step by step HOW-TO that explain show to setup a Unifi Video Controller with an NFS share with Arch Linux.
How to setup a self-hosted Unifi NVR with Arch Linux
A step by step HOW-TO that explain show to setup a Unifi Video Controller with an NFS share with Arch Linux.
-
 Blender 2.8 How to use Transparent Textures
Follow this node setup when you want to use an image with transparency as a "sticker".
Blender 2.8 How to use Transparent Textures
Follow this node setup when you want to use an image with transparency as a "sticker".
-
 Compiling FFmpeg with X264 on Windows 10 using MSVC
A couple of steps to compile FFmpeg on Windows using MSVC.
Compiling FFmpeg with X264 on Windows 10 using MSVC
A couple of steps to compile FFmpeg on Windows using MSVC.
-
 Blender 2.8 OpenGL Buffer Exporter
The following Blender script creates a [name].h and [name].cpp for the selected object and stores the positions, normals and UVs.
Blender 2.8 OpenGL Buffer Exporter
The following Blender script creates a [name].h and [name].cpp for the selected object and stores the positions, normals and UVs.
-
 Blender 2.8 Baking lightmaps
Light maps are a cheap way to add a lot of realism to you static scenes and have been used forever.
Blender 2.8 Baking lightmaps
Light maps are a cheap way to add a lot of realism to you static scenes and have been used forever.
-
 Blender 2.8 Tips and Tricks
Use Environment Map only for reflections; create a floor plane for a Product Render, diffuse texture for roughness and more!
Blender 2.8 Tips and Tricks
Use Environment Map only for reflections; create a floor plane for a Product Render, diffuse texture for roughness and more!
-
 Setting up a Bluetooth Headset on Arch Linux
Learn how to setup a Sennheiser PXC 550 Bluetooth headset on Arch Linux.
Setting up a Bluetooth Headset on Arch Linux
Learn how to setup a Sennheiser PXC 550 Bluetooth headset on Arch Linux.
-
 Compiling x264 on Windows with MSVC
Compile the excellent x264 source on Windows using MSYS2 and MSVC.
Compiling x264 on Windows with MSVC
Compile the excellent x264 source on Windows using MSYS2 and MSVC.
-
 C/C++ Snippets
Is a number divisible by four?
C/C++ Snippets
Is a number divisible by four?
-
 Reading Chunks from a Buffer
Some thoughts on reading bytes from a file; handy for reading NALs.
Reading Chunks from a Buffer
Some thoughts on reading bytes from a file; handy for reading NALs.
-
 Handy Bash Commands
Bash scripts: removing white space, lowercase filenames, backup using tar, etc.
Handy Bash Commands
Bash scripts: removing white space, lowercase filenames, backup using tar, etc.
-
 Building a zero copy parser
Simple solution to parse data in a pretty performant way. Used this for a RTSP protocol parser.
Building a zero copy parser
Simple solution to parse data in a pretty performant way. Used this for a RTSP protocol parser.
-
 Kalman Filter
A very simple yet powerful filter which works great when you have to smooth noisy data. Used for the Nike Rise 2.0 project.
Kalman Filter
A very simple yet powerful filter which works great when you have to smooth noisy data. Used for the Nike Rise 2.0 project.
-
 Saving pixel data using libpng
Do you have raw RGBA data that you want to save? Use this snippet to save it into a PNG file.
Saving pixel data using libpng
Do you have raw RGBA data that you want to save? Use this snippet to save it into a PNG file.
-
 Compile Apache, PHP and MySQL on Mac 10.10
Setup you own PHP, MySQL and Apache and with virtual document roots.
Compile Apache, PHP and MySQL on Mac 10.10
Setup you own PHP, MySQL and Apache and with virtual document roots.
-
 Fast Pixel Transfers with Pixel Buffer Objects
Using Pixel Buffer Objects (PBO) for fast asynchronous data transfers and OpenGL.
Fast Pixel Transfers with Pixel Buffer Objects
Using Pixel Buffer Objects (PBO) for fast asynchronous data transfers and OpenGL.
-
 High Resolution Timer function in C/C++
Wait...... wait.. fast high resolution timer funtions (Windows, Linux, Mac)
High Resolution Timer function in C/C++
Wait...... wait.. fast high resolution timer funtions (Windows, Linux, Mac)
-
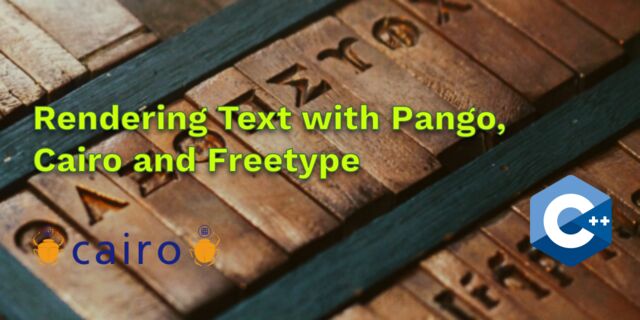
 Rendering text with Pango, Cairo and Freetype
My never ending obsession with font rendering. A complex beast to do well. Use Pango and FreeType for the heavy lifting.
Rendering text with Pango, Cairo and Freetype
My never ending obsession with font rendering. A complex beast to do well. Use Pango and FreeType for the heavy lifting.
-
 Fast OpenGL blur shader
Make things look blurry ... and fast using this OpenGL blur shader.
Fast OpenGL blur shader
Make things look blurry ... and fast using this OpenGL blur shader.
-
Spherical Environment Mapping with OpenGL
An old trick to get great lighting effects using Environment Maps and OpenGL.
-
 Using OpenSSL with memory BIOs
OpenSSL is a great library with lots of abstractions. In this post I discuss how to break some of these abstractions and use your own memory buffers.
Using OpenSSL with memory BIOs
OpenSSL is a great library with lots of abstractions. In this post I discuss how to break some of these abstractions and use your own memory buffers.
-
 Attributeless Vertex Shader with OpenGL
A simple way to render a fullscreen quad without a vertex buffer with OpenGL.
Attributeless Vertex Shader with OpenGL
A simple way to render a fullscreen quad without a vertex buffer with OpenGL.
-
 Circular Image Selector
Some thoughts on a different way to select images from a huge collection in a compact UI.
Circular Image Selector
Some thoughts on a different way to select images from a huge collection in a compact UI.
-
 Decoding H264 and YUV420P playback
Using libav to demux and playback with OpenGL.
Decoding H264 and YUV420P playback
Using libav to demux and playback with OpenGL.
-
 Fast Fourier Transform
Analyse your audio using the Fastest Fourier Transform in the West.
Fast Fourier Transform
Analyse your audio using the Fastest Fourier Transform in the West.
-
 OpenGL Rim Shader
Pretty glowy edges using a GLSL rim shader.
OpenGL Rim Shader
Pretty glowy edges using a GLSL rim shader.
-
 Rendering The Depth Buffer
Render the non-linear OpenGL Depth Buffer.
Rendering The Depth Buffer
Render the non-linear OpenGL Depth Buffer.
-
 Delaunay Triangulation
Do you need to triangulate some shape: use the “Triangle” library.
Delaunay Triangulation
Do you need to triangulate some shape: use the “Triangle” library.
-
 RapidXML
 is a versatile and fast XML parser with a simple API. Check out these examples.
RapidXML
RapidXML is a versatile and fast XML parser with a simple API. Check out these examples.
-
 Git Snippets
Some simple GIT snippets; added here to remind myself.
Git Snippets
Some simple GIT snippets; added here to remind myself.
-
 Basic Shading With OpenGL
A couple of basic GLSL shaders with explanation.
Basic Shading With OpenGL
A couple of basic GLSL shaders with explanation.
-
 Open Source Libraries For Creative Coding
Collection of great open source libraries for you creative programming projects.
Open Source Libraries For Creative Coding
Collection of great open source libraries for you creative programming projects.
-
 Bouncing particle effect
Snippet that can be used to create a bouncy particle effect; basic, effective, simple but nice.
Bouncing particle effect
Snippet that can be used to create a bouncy particle effect; basic, effective, simple but nice.
-
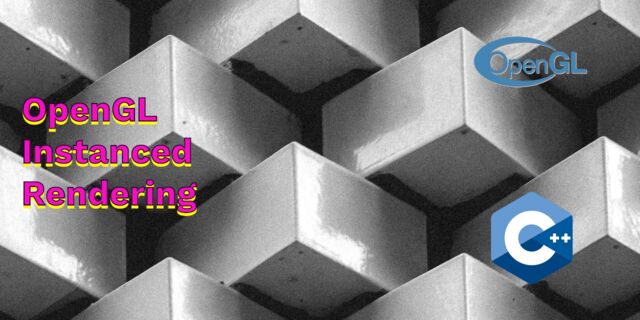
 OpenGL Instanced Rendering
Want to render thousands and thousands of objects? Use OpenGL instanced rendering. The solution...the only solution.
OpenGL Instanced Rendering
Want to render thousands and thousands of objects? Use OpenGL instanced rendering. The solution...the only solution.
-
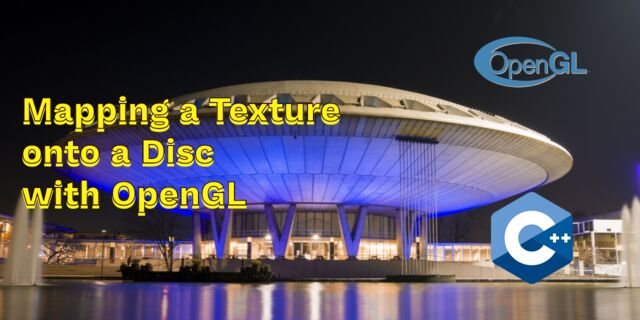
 Mapping a texture on a disc
Ever heard about projective interpolation related to texture mapping? Learn about this intertesting issue with OpenGL and texture mapping.
Mapping a texture on a disc
Ever heard about projective interpolation related to texture mapping? Learn about this intertesting issue with OpenGL and texture mapping.
-
 Download HTML page using CURL
When you want a quick solution to perform a HTTP(S) request CURL is always a quick an simple solution. Check out this example code.
Download HTML page using CURL
When you want a quick solution to perform a HTTP(S) request CURL is always a quick an simple solution. Check out this example code.
-
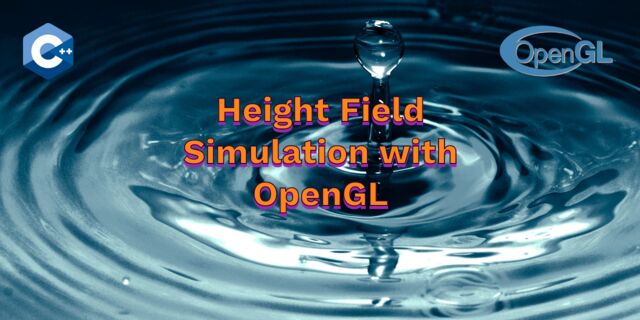
 Height Field Simulation on GPU
Although not a Navier-Stokes implementation ... still a very nice and enjoyable effect.
Height Field Simulation on GPU
Although not a Navier-Stokes implementation ... still a very nice and enjoyable effect.
-
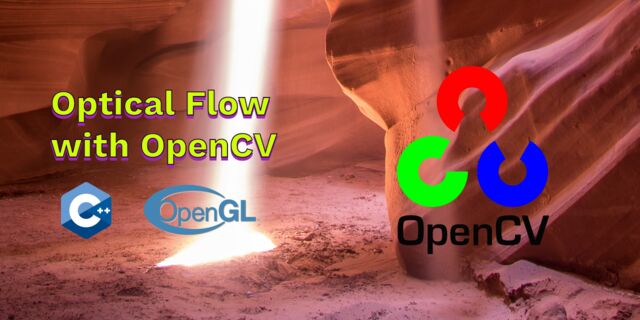
 OpenCV
Optical Flow: when doing anything with tracking you've probably heard of it. See this simple example code using OpenCV and OpenGL.
OpenCV
Optical Flow: when doing anything with tracking you've probably heard of it. See this simple example code using OpenCV and OpenGL.
-
 Some notes on OpenGL
FBOs and Depth Testing, using different Attachment Points, a YUV420p shader, ...
Some notes on OpenGL
FBOs and Depth Testing, using different Attachment Points, a YUV420p shader, ...
-
 Math
Meaning of the Dot Product in 3D graphics, calculating a perpendicular vector using Sam Hocevar's solution, orientation matrix and more.
Math
Meaning of the Dot Product in 3D graphics, calculating a perpendicular vector using Sam Hocevar's solution, orientation matrix and more.
-
 Gists to remember
Some gists that I want to remember, often use, etc...
Gists to remember
Some gists that I want to remember, often use, etc...
-
 Reverse SSH
Do you want to login, into a remote PC but the remote PC is behind a firewall? Then use this simple reverse SSH trick which doesn't require changing your firewall rules.
Reverse SSH
Do you want to login, into a remote PC but the remote PC is behind a firewall? Then use this simple reverse SSH trick which doesn't require changing your firewall rules.
-
 Working Set
Having issues with your compiler? Or during linking? Check these common issues and their solutions. I also list several tools that you can use to get a some useful info.
Working Set
Having issues with your compiler? Or during linking? Check these common issues and their solutions. I also list several tools that you can use to get a some useful info.
-
 Consumer + Producer model with libuv
Example of a common Multi Threaded Consumer/Producer Model using LibUV.
Consumer + Producer model with libuv
Example of a common Multi Threaded Consumer/Producer Model using LibUV.
-
 Parsing binary data
Learn about the basic of a binary protocol and how to create one easily yourself.
Parsing binary data
Learn about the basic of a binary protocol and how to create one easily yourself.
-
 C++ file operation snippets
Reading a file into a string, vector, checking the file size, change to a position, etc. A collection of C++ file operation snippets.
C++ file operation snippets
Reading a file into a string, vector, checking the file size, change to a position, etc. A collection of C++ file operation snippets.
-
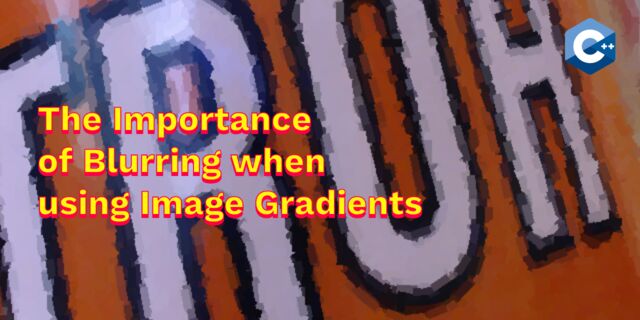
 Importance of blur with image gradients
Do you want to experiment with OpenGL and aligning Brush Strokes along Image Gradients? Then check out this post about the importance of blurring.
Importance of blur with image gradients
Do you want to experiment with OpenGL and aligning Brush Strokes along Image Gradients? Then check out this post about the importance of blurring.
-
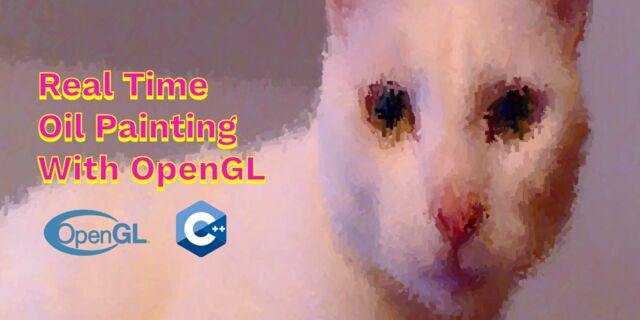
 Real-time oil painting with openGL
Code snippet for fake "oil painting" effect with OpenGL using instanced rendering.
Real-time oil painting with openGL
Code snippet for fake "oil painting" effect with OpenGL using instanced rendering.
-
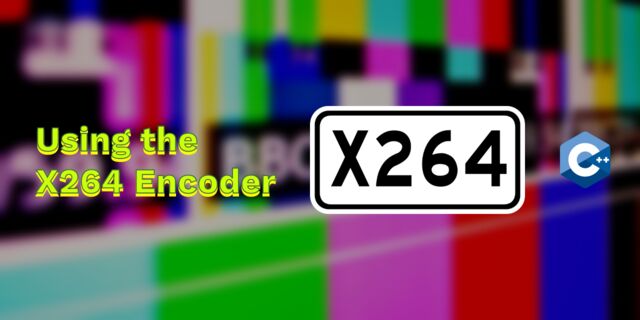
 x264 encoder
Basic example on how to use libx264 to encode image data using libav
x264 encoder
Basic example on how to use libx264 to encode image data using libav
-
 Generative helix with openGL
Screenshots of a project I worked on with that generates a DNA helix.
Generative helix with openGL
Screenshots of a project I worked on with that generates a DNA helix.
-
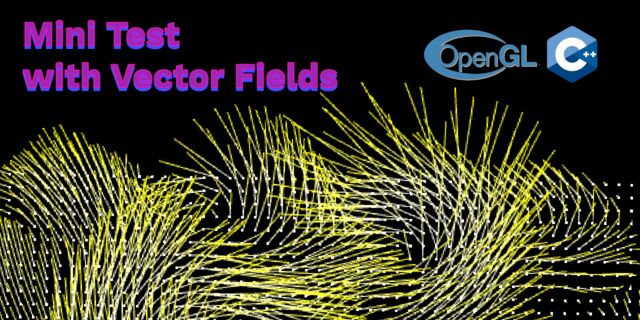
 Mini test with vector field
Screenshots while experimenting with a vector field; nothing much to see here.
Mini test with vector field
Screenshots while experimenting with a vector field; nothing much to see here.
-
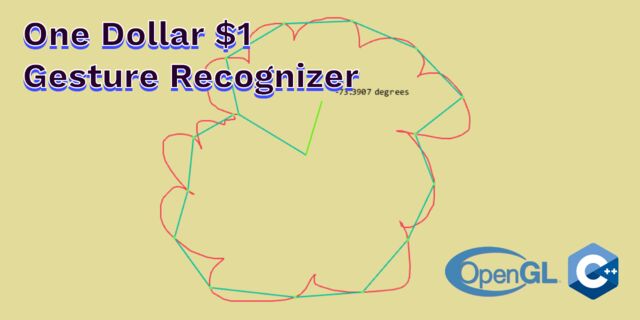
 Protractor gesture recognizer
Testing the amazing One Dollar $1 gesture recognizer. The simplest and very good gesture recognizer.
Protractor gesture recognizer
Testing the amazing One Dollar $1 gesture recognizer. The simplest and very good gesture recognizer.
-
 Hair simulation
Example code that implements the "Fast Simulation of Inextensible Hair and Fur" paper from M. Müller, T.Y. Kim and N.Chentanez.
Hair simulation
Example code that implements the "Fast Simulation of Inextensible Hair and Fur" paper from M. Müller, T.Y. Kim and N.Chentanez.
-
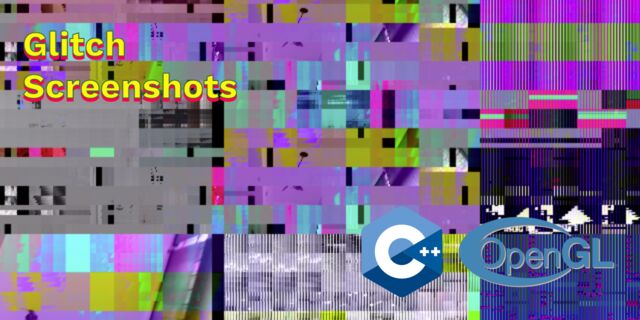
 Some glitch screenshots
Glitch screenshots.
Some glitch screenshots
Glitch screenshots.
-
 Working on video installation
Screenshots of some experiments of a video installation.
Working on video installation
Screenshots of some experiments of a video installation.
-
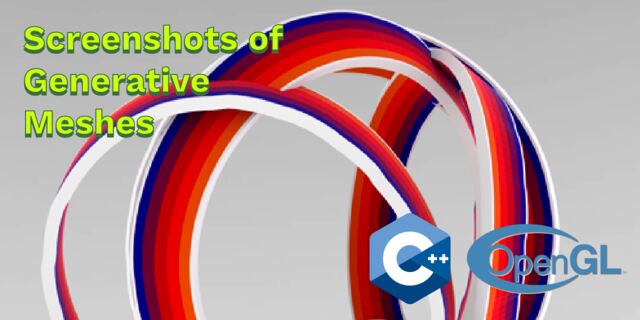
 Generative meshes
I enjoy creating physics based simulations and render them on high res. Here are some experiments I did a time ago.
Generative meshes
I enjoy creating physics based simulations and render them on high res. Here are some experiments I did a time ago.
-
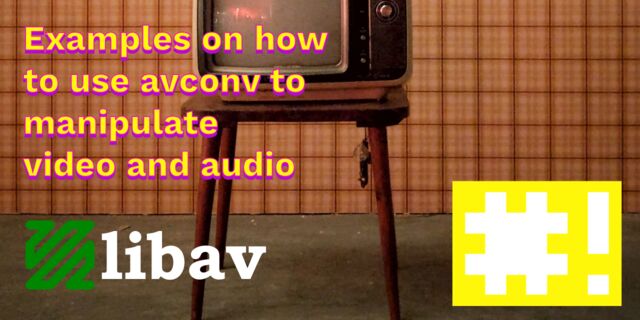
 Converting video/audio using avconv
Examples that show you how to use avconv to manipulate video and audio files.
Converting video/audio using avconv
Examples that show you how to use avconv to manipulate video and audio files.
-
 Auto start terminal app on mac
Automatically start you application whe Mac boots and make sure that it restarts your app when it exists. Handy for interactive installations.
Auto start terminal app on mac
Automatically start you application whe Mac boots and make sure that it restarts your app when it exists. Handy for interactive installations.
-
 Export blender object to simple file format
Export the selected object in Blender into a .h and .cpp file that prepresents the buffer.
Export blender object to simple file format
Export the selected object in Blender into a .h and .cpp file that prepresents the buffer.
 NAT Types
 Building Cabinets
 Compiling GStreamer from source on Windows
 Debugging CMake Issues
 Dual Boot Arch Linux and Windows 10
 Mindset Updated Edition, Carol S. Dweck (Book Notes)
 How to setup a self-hosted Unifi NVR with Arch Linux
 Blender 2.8 How to use Transparent Textures
 Compiling FFmpeg with X264 on Windows 10 using MSVC
 Blender 2.8 OpenGL Buffer Exporter
 Blender 2.8 Baking lightmaps
 Blender 2.8 Tips and Tricks
 Setting up a Bluetooth Headset on Arch Linux
 Compiling x264 on Windows with MSVC
 C/C++ Snippets
 Reading Chunks from a Buffer
 Handy Bash Commands
 Building a zero copy parser
 Kalman Filter
 Saving pixel data using libpng
 Compile Apache, PHP and MySQL on Mac 10.10
 Fast Pixel Transfers with Pixel Buffer Objects
 High Resolution Timer function in C/C++
 Rendering text with Pango, Cairo and Freetype
 Fast OpenGL blur shader
 Spherical Environment Mapping with OpenGL
 Using OpenSSL with memory BIOs
 Attributeless Vertex Shader with OpenGL
 Circular Image Selector
 Decoding H264 and YUV420P playback
 Fast Fourier Transform
 OpenGL Rim Shader
 Rendering The Depth Buffer
 Delaunay Triangulation
 RapidXML
 Git Snippets
 Basic Shading With OpenGL
 Open Source Libraries For Creative Coding
 Bouncing particle effect
 OpenGL Instanced Rendering
 Mapping a texture on a disc
 Download HTML page using CURL
 Height Field Simulation on GPU
 OpenCV
 Some notes on OpenGL
 Math
Math
 Gists to remember
 Reverse SSH
 Working Set
 Consumer + Producer model with libuv
 Parsing binary data
 C++ file operation snippets
 Importance of blur with image gradients
 Real-time oil painting with openGL
 x264 encoder
 Generative helix with openGL
 Mini test with vector field
 Protractor gesture recognizer
 Hair simulation
 Some glitch screenshots
 Working on video installation
 Generative meshes
 Converting video/audio using avconv
 Auto start terminal app on mac
 Export blender object to simple file format