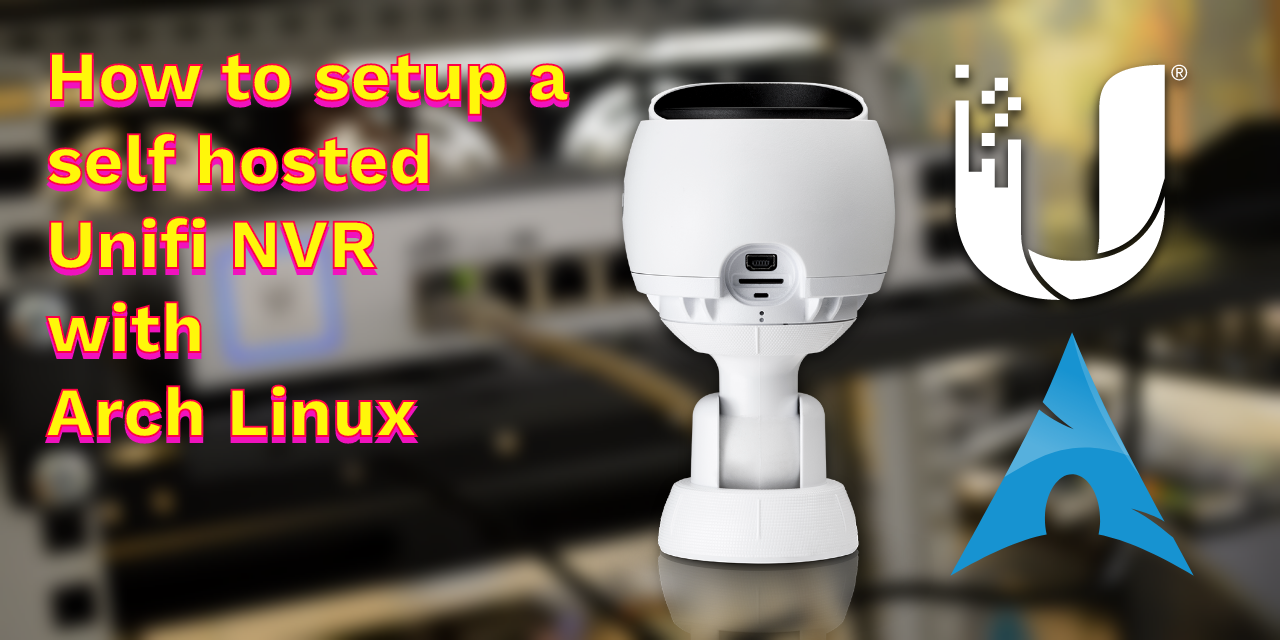
How to setup a self-hosted Unifi NVR with Arch Linux
In this article I'll explain how to install anj Unifi Network Video Recorder (NVR) that you can use with e.g. your Unifi G3 camera. The Unifi G3 camera is an amazing camera that you can use as a security cam. By configuring the motion detection it can automatically start a recording that will be saved at a location you specify. I'll show examples how to configure a remote NFS share to store the videos and how to install the unifi-video package on Arch Linux.
Install unifi-video from the AUR packages
Install unifi-video dependencies
The unifi-video AUR package contains the server that is used to
manage the Unifi NVR. It's the central place that allows you to
configure your cameras, configure motion detection, etc. First
you have to install the required dependencies.
The unifi-video package requires a Java Runtime Environment
(JRE), to be more precise, it needs version 8. Arch Linux
provides several ways to install Java as there are
different implementations. I chose to use the OpenJDK
implementation. Besides the JRE we have to install mongodb. You
can either install mongodb from source or by using the
pre-packaged binaries from MongoDB. I'll use the pre-packaged
binaries as compiling MongoDB from source can take a very long
time.
Note: I'll use -- some comment to add inline comments. Commands
prefixed by # are executed as root and $ as a user.
On the PC where you want to install the Unifi Video NVR, run the following commands.
# pacman -Syu                            -- make sure that your system is up-to-date
# pacman -S jre8-openjdk-headless

$ cd ~
$ mkdir packages
$ cd packages

$ git clone https://aur.archlinux.org/mongodb-bin.git
$ cd mongodb-bin
$ makepkg -si

$ git clone https://aur.archlinux.org/unifi-video.git
$ cd unifi-video
$ makepkg -si
Setting up a NFS share to store the video recordings
When you want to store the video recordings on another server you can use NFS to share a directory on the remote server and mount it on the Unifi NVR that you've just installed. When you don't want to save the videos on a remote server you can skip this step.
Install NFS on your storage server
On the PC where you want to store the video recordings you have to install and configure NFS. I assume you're using Arch Linux for this too. Follow these steps to install the required packages for the NFS server:
# pacman -Sy
# pacman -S nfs-utils

# systemctl enable nfs-server     -- make sure the nfs-server start on reboots
# systemctl start nfs-server
This next step is critical and the reason why some people run
into issues when trying to use a NFS share to store
recordings. The issue seems to be related with the Unifi Video
Controller 3.10.10 and some olders versions like Unifi Video 3.8.1. When you don't
follow these steps you might run into permission issues. You'll
see an error like "Validation Failed" follow with "Please correct
permissions or ownership and try again".
Create the unifi-video user and group
You have to create a directory to store the recordings and you
have to make sure that the user and group is set to
unifi-video. I added a unifi-video user and group on the PC
on which I store the videos. I made sure that the user-id and
group-id are similar to those on the PC onto which I installed
unifi-video. So you first check the user-id and group-id of
unifi-video on the PC on which you've just installed the
unifi-video package:
# id unifi-video
uid=971(unifi-video) gid=971(unifi-video) groups=971(unifi-video),985(users)
Next login into your remote server and create the same user and group:
# groupadd -g 971 unifi-video
# useradd -u 971 -g 971 -r -s /usr/bin/nologin unifi-video
Create the storage directory
Once you have created the user and group you have create the
directory where you want to save the recordings and make sure to
set the ownership the unifi-video.
# cd /data/unifi-videos
# chown unifi-video:unifi-video /data/unifi-videos
Make storage directory available via NFS
There are different ways to share the directory you've just created
via NFS. Here I'll describe a simple solution which works. We're going
to share the /data/unifi-videos directory with the following features:
- We only allow the PC with IP address
192.168.0.231to access the share. - We use the all_squash
option with the anonuid=971 and anongid=971 to make sure that
all uids and gids are mapped to the ids of the
unifi-videouser and group. - We also use the no_subtree_check and sync options; see links for more info.
NFS uses the /etc/exports file to define what directories
should be shared. Open this file and add the following line. Make
sure that the uid and gid match the unifi-video user and
group. Adjust the IP to the IP of the NVR. You might want to use
ZeroTier to create a VPN which
allows you to configure a NFS share without the need to configure
the necessary ports for the NFS-server on your firewall.
/data/unifi-videos 192.168.0.231(rw,sync,no_subtree_check,all_squash,anonuid=971,anongid=971)
Once we've added the line to /etc/exports we have to execute the
following command to update nfs.
# exportfs -arv
Mounting the NFS share on the NVR
Ok nice! When you got to this point you've got a NFS server
running that shares a directory into which we can store the video
recordings of your Unifi cameras (e.g. like the G3). The next
step you have to follow is to mount the share on your PC that
runs unifi-video.
First let us check if the share is exposed by the server. Login into your NVR PC and run the following command:
# showmount -e [IP.OF.YOUR.NFS.SERVER]

Export list for [IP.OF.YOUR.NFS.SERVER]
/data/unifi-videos 192.168.0.231
When you don't see the list of exported shares, something went wrong in the previous step. Go back and make sure everything has been setup correctly. Next you want to mount hte NFS share:
# mkdir /mnt/unifi-videos  -- make sure the mount point exist.
# mount -t nfs -o vers=4 192.168.0.231:/data/unifi-videos /mnt/unifi-videos
That's it!
At this point you should have mapped the remote NFS share onto your
unifi-video NVR. The last step we have to do is login into the unifi-video
web admin and set he directory where you want to save the videos.
Configure unifi-video to use the NFS share
Open a browser and open http://[IP.OF.YOUR.NVR]:7080 and login
with the credentials you specified the first time you've opened
the controller. When you haven't done this yet, follow the steps
as explained in the wizard you should see.
Click Settings at the lower left bottom then at the top of the
right content area click the System Configuration
button. There, select the Configure tab and enter the mounted
directory, e.g. /mnt/unifi-videos.
When you get a permission error, make sure that the mount
point uses the unifi-video user and group as explained above.
Auto mount the NFS share
One thing we don't want to forget is to make sure that we
mount the storage directory after a reboot. You can do this
by adding the following line to /etc/fstab (adjust the
values accordingly):
192.168.0.231:/data/unifi-videos /unifi-videos nfs defaults,timeo=900,retrans=5,_netdev 0 0
References
While setting up unifi-video I stumbled upon the following
posts; some with the same issues I was running into and hopefully
solved for your in this article.
- UniFi Video - How to Add a Network File Share to the NVR Appliance
- UniFi Video - How to Add a Network Volume to the NVR Appliance
- Issue writing to NFS on new Install - 3.8.2
- Problem with adding NFS to NVR
- Problem with recording to NFS
- Issue with writing videos to a docker volume mapped to a NFS share
- NFS share mapping UID/GID
 NAT Types
 Building Cabinets
 Compiling GStreamer from source on Windows
 Debugging CMake Issues
 Dual Boot Arch Linux and Windows 10
 Mindset Updated Edition, Carol S. Dweck (Book Notes)
 How to setup a self-hosted Unifi NVR with Arch Linux
 Blender 2.8 How to use Transparent Textures
 Compiling FFmpeg with X264 on Windows 10 using MSVC
 Blender 2.8 OpenGL Buffer Exporter
 Blender 2.8 Baking lightmaps
 Blender 2.8 Tips and Tricks
 Setting up a Bluetooth Headset on Arch Linux
 Compiling x264 on Windows with MSVC
 C/C++ Snippets
 Reading Chunks from a Buffer
 Handy Bash Commands
 Building a zero copy parser
 Kalman Filter
 Saving pixel data using libpng
 Compile Apache, PHP and MySQL on Mac 10.10
 Fast Pixel Transfers with Pixel Buffer Objects
 High Resolution Timer function in C/C++
 Rendering text with Pango, Cairo and Freetype
 Fast OpenGL blur shader
 Spherical Environment Mapping with OpenGL
 Using OpenSSL with memory BIOs
 Attributeless Vertex Shader with OpenGL
 Circular Image Selector
 Decoding H264 and YUV420P playback
 Fast Fourier Transform
 OpenGL Rim Shader
 Rendering The Depth Buffer
 Delaunay Triangulation
 RapidXML
 Git Snippets
 Basic Shading With OpenGL
 Open Source Libraries For Creative Coding
 Bouncing particle effect
 OpenGL Instanced Rendering
 Mapping a texture on a disc
 Download HTML page using CURL
 Height Field Simulation on GPU
 OpenCV
 Some notes on OpenGL
 Math
Math
 Gists to remember
 Reverse SSH
 Working Set
 Consumer + Producer model with libuv
 Parsing binary data
 C++ file operation snippets
 Importance of blur with image gradients
 Real-time oil painting with openGL
 x264 encoder
 Generative helix with openGL
 Mini test with vector field
 Protractor gesture recognizer
 Hair simulation
 Some glitch screenshots
 Working on video installation
 Generative meshes
 Converting video/audio using avconv
 Auto start terminal app on mac
 Export blender object to simple file format